Panasonic SC-MAX770 - Manuals
Panasonic SC-MAX770 Sound System – Manual in PDF format online.
Manuals:
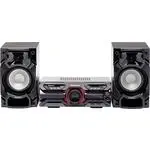
Manual Panasonic SC-MAX770


Summary
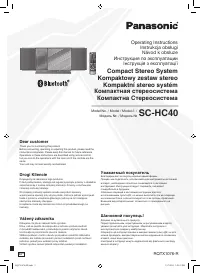
VQ T5 K 75 2 Do the procedures with the remote control. You can also use the buttons on the main unit if they are the same. Your system and the illustrations can look differently.These operating instructions are applicable to the following system. Safety precautions Unit • To reduce the risk of fire...
3 VQT 5K 75 Customer Service Reference Occasionally, Panasonic may release updated software for this unit that may add or improve the way a feature operates. These updates are available free of charge.For more details, refer to the following website. http://panasonic.jp/support/global/cs/ (This site...
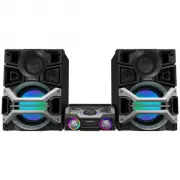
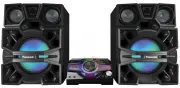
VQ T5 K 75 4 Supplied accessories Check and identify the supplied accessories. Attaching the speaker feet For stability and to prevent damage to the floor, attach the speaker feet to the bottom of the speakers. Preparation Put a protection layer below the speakers to prevent scratches. Placement of ...
Panasonic Sound Systems Manuals
-
 Panasonic SC-AK240
Manual
Panasonic SC-AK240
Manual
-
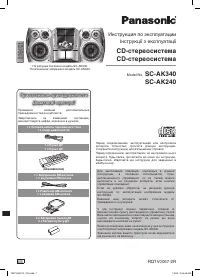
 Panasonic SC-AK340
Manual
Panasonic SC-AK340
Manual
-
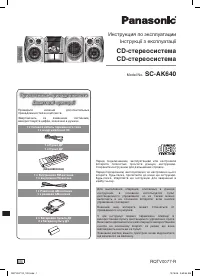 Panasonic SC-AK640
Manual
Panasonic SC-AK640
Manual
-
 Panasonic SC-AKX220GNK
User Manual
Panasonic SC-AKX220GNK
User Manual
-
 Panasonic SC-AKX320E-K
User Manual
Panasonic SC-AKX320E-K
User Manual
-
 Panasonic SC-AKX320GSK
User Manual
Panasonic SC-AKX320GSK
User Manual
-
 Panasonic SC-BMAX3GN-K
User Manual
Panasonic SC-BMAX3GN-K
User Manual
-
 Panasonic SC-CMAX5GS-K
User Manual
Panasonic SC-CMAX5GS-K
User Manual
-
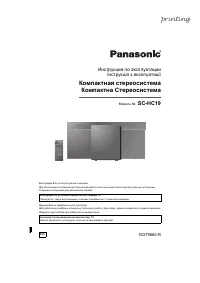 Panasonic SC-HC19
User Manual
Panasonic SC-HC19
User Manual
-
 Panasonic SC-HC295GN-K
User Manual
Panasonic SC-HC295GN-K
User Manual
-
 Panasonic SC-HC29GN-K
User Manual
Panasonic SC-HC29GN-K
User Manual
-
 Panasonic SC-HC300EG-K
User Manual
Panasonic SC-HC300EG-K
User Manual
-
 Panasonic SC-HC300EG-W
User Manual
Panasonic SC-HC300EG-W
User Manual
-
 Panasonic SC-HC302GN-K
User Manual
Panasonic SC-HC302GN-K
User Manual
-
 Panasonic SC-HC39
User Manual
Panasonic SC-HC39
User Manual
-
Panasonic SC-HC39
Manual
-
 Panasonic SC-HC397GN-S
User Manual
Panasonic SC-HC397GN-S
User Manual
-
 Panasonic SC-HC40
Manual
Panasonic SC-HC40
Manual
-
 Panasonic SC-MAX770GSK
User Manual
Panasonic SC-MAX770GSK
User Manual
-
 Panasonic SC-MAX9000GN
User Manual
Panasonic SC-MAX9000GN
User Manual