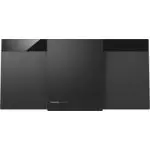
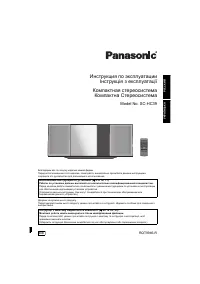
Panasonic SC-HC29GN-K - Manuals
User Manual Panasonic SC-HC29GN-K


Summary
4 R Q T9869 Making the connections Connect the AC mains lead only after all the other connections have been made. 1 For the United Kingdom and Ireland Connect the DAB antenna. Be sure to tighten fully the nut. Do not use any other DAB antenna except the supplied one. For others Connect the FM indoor...
5 R Q T9869 Overview of controls Do the procedures with the remote control. You can also use the buttons on the main unit if they are the same. A Standby/on switch [ ` ], [ 1 ] Press to switch the unit from on to standby mode or vice versa. In standby mode, the unit is still consuming a small amount...
6 R Q T9869 Preparing the media Disc 1 Press [USB/CD] to select “CD”. 2 Press [CD x ] (main unit: [ x OPEN/CLOSE]) to open the sliding door. Put in a disc with the label facing towards you. 3 Press [CD x ] (main unit: [ x OPEN/CLOSE]) again to close the sliding door. Keep fingers away from the slidi...
Panasonic Sound Systems Manuals
-
 Panasonic SC-AK240
Manual
Panasonic SC-AK240
Manual
-
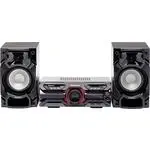
 Panasonic SC-AK340
Manual
Panasonic SC-AK340
Manual
-
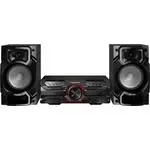
 Panasonic SC-AK640
Manual
Panasonic SC-AK640
Manual
-
 Panasonic SC-AKX220GNK
User Manual
Panasonic SC-AKX220GNK
User Manual
-
 Panasonic SC-AKX320E-K
User Manual
Panasonic SC-AKX320E-K
User Manual
-
 Panasonic SC-AKX320GSK
User Manual
Panasonic SC-AKX320GSK
User Manual
-
 Panasonic SC-BMAX3GN-K
User Manual
Panasonic SC-BMAX3GN-K
User Manual
-
 Panasonic SC-CMAX5GS-K
User Manual
Panasonic SC-CMAX5GS-K
User Manual
-
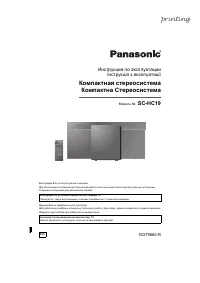 Panasonic SC-HC19
User Manual
Panasonic SC-HC19
User Manual
-
 Panasonic SC-HC295GN-K
User Manual
Panasonic SC-HC295GN-K
User Manual
-
 Panasonic SC-HC300EG-K
User Manual
Panasonic SC-HC300EG-K
User Manual
-
 Panasonic SC-HC300EG-W
User Manual
Panasonic SC-HC300EG-W
User Manual
-
 Panasonic SC-HC302GN-K
User Manual
Panasonic SC-HC302GN-K
User Manual
-
 Panasonic SC-HC39
User Manual
Panasonic SC-HC39
User Manual
-
Panasonic SC-HC39
Manual
-
 Panasonic SC-HC397GN-S
User Manual
Panasonic SC-HC397GN-S
User Manual
-
 Panasonic SC-HC40
Manual
Panasonic SC-HC40
Manual
-
 Panasonic SC-MAX770GSK
User Manual
Panasonic SC-MAX770GSK
User Manual
-
 Panasonic SC-MAX9000GN
User Manual
Panasonic SC-MAX9000GN
User Manual
-
 Panasonic SC-NE5
User Manual
Panasonic SC-NE5
User Manual