Miele DA 6596 W Puristic Canto - Manuals

Miele DA 6596 W Puristic Canto – User Manual, Installation Manual, Manual in PDF format online.
Manuals:
User Manual Miele DA 6596 W Puristic Canto


Summary
Contents 2 IMPORTANT SAFETY INSTRUCTIONS ............................................................ 4 Guide to the appliance ...................................................................................... 12 Description of functions .............................................................
Contents 3 Installation recommendations ............................................................................. 32Drilling diagram for wall mounting ....................................................................... 32Plywood backing ..........................................................
IMPORTANT SAFETY INSTRUCTIONS 4 READ AND SAVE THESE INSTRUCTIONS This appliance complies with current safety requirements.Improper use of the appliance can lead to personal injury andmaterial damage. Read all instructions before installing or using the appliance for thefirst time. Only use the appli...
Installation Manual Miele DA 6596 W Puristic Canto

Manual Miele DA 6596 W Puristic Canto


Summary
de . . . . . . . . . . . . . . . . . . . . . . . . . . . . . . . . . . . . . . . . . . . . . . . . . . . . . . . . . . . . . . . 3 en . . . . . . . . . . . . . . . . . . . . . . . . . . . . . . . . . . . . . . . . . . . . . . . . . . . . . . . . . . . . . . . 5 es . . . . . . . . . . . . . . . . . ....
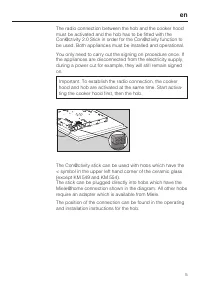
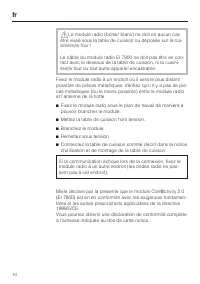
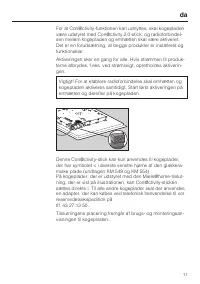
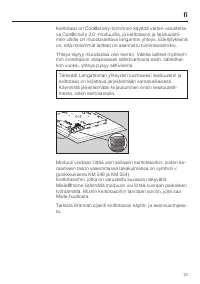
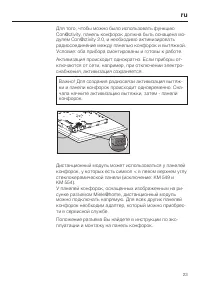
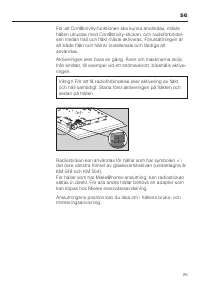
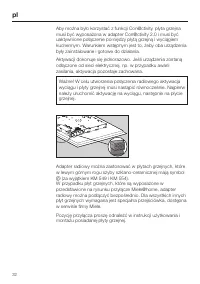
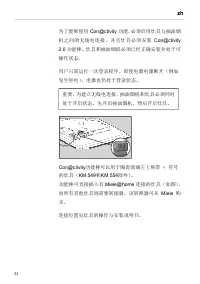
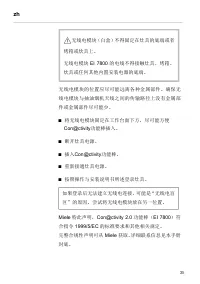
zh ______________________________________________________________________________________________________________________________________________ 为了能够使用 Con@ctivity 功能,必须启用灶具与抽油烟 机之间的无线电连接,并且灶具必须安装 Con@ctivity 2.0 功能棒。灶具和抽油烟机必须已经正确安装并处于可 操作状态。 用户只需运行一次登录程序。即使电器电源断开(例如 发生停电),电器也仍处于登录状态。 Con@ctivity 功...
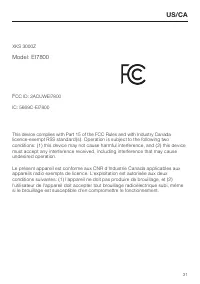
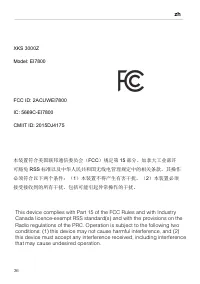
zh ______________________________________________________________________________________________________________________________________________ XKS 3000Z Model: EI7800 FCC ID: 2ACUWEI7800 IC: 5669C-EI7800 CMIIT ID: 2015DJ4175 本装置符合美国联邦通信委员会( FCC )规定第 15 部分、加拿大工业部许 可豁免 RSS 标准以及中华人民共和国无线电管理规定中的相关条款。...
Miele Manuals
-
 Miele APWM 063
Installation Manual
Miele APWM 063
Installation Manual
-
 Miele APWM 066
Installation Manual
Miele APWM 066
Installation Manual
-
 Miele UO 811-30
Installation Manual
Miele UO 811-30
Installation Manual
-
 Miele UO 413-30
Installation Manual
Miele UO 413-30
Installation Manual
-
 Miele UO 814-25
Installation Manual
Miele UO 814-25
Installation Manual
-
 Miele UO 818/418-25
Installation Manual
Miele UO 818/418-25
Installation Manual
-
 Miele APCL 043
User Manual
Miele APCL 043
User Manual
-
 Miele APWM 062
Installation Manual
Miele APWM 062
Installation Manual
-
 Miele APWM 065
Installation Manual
Miele APWM 065
Installation Manual
-
 Miele APWM 070
Installation Manual
Miele APWM 070
Installation Manual
-
 Miele APWM 069
Installation Manual
Miele APWM 069
Installation Manual
-
 Miele APWM 020
Installation Manual
Miele APWM 020
Installation Manual
-
Miele APWM 020
User Manual
-
 Miele SC
Installation Manual
Miele SC
Installation Manual
-
 Miele PR
Installation Manual
Miele PR
Installation Manual
-
 Miele FP 900
Installation Manual
Miele FP 900
Installation Manual
-
 Miele RP 900
Installation Manual
Miele RP 900
Installation Manual
-
 Miele APCL 046
User Manual
Miele APCL 046
User Manual
-
 Miele APCL 047
User Manual
Miele APCL 047
User Manual
-
 Miele APWM 019
Installation Manual
Miele APWM 019
Installation Manual