Makita XOB03Z - Manuals
User Manual Makita XOB03Z


Summary
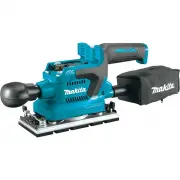
2 ENGLISH ENGLISH (Original instructions) SPECIFICATIONS Model: XOB03 Pad size 92 mm x 185 mm (3-5/8″ x 7-1/4″) Abrasive paper size 93 mm x 228 mm (3-5/8″ x 9″) Orbits per minute High 12,000 /min Medium 8,000 /min Low 4,000 /min Overall length (with front grip) 336 mm (13-1/4″) Rated voltage D.C. 18...
4 ENGLISH Service 1. Have your power tool serviced by a qualified repair person using only identical replacement parts. This will ensure that the safety of the power tool is maintained. 2. Never service damaged battery packs. Service of battery packs should only be performed by the manufacturer or a...
5 ENGLISH 14. During and after use, the battery cartridge may take on heat which can cause burns or low temperature burns. Pay attention to the han- dling of hot battery cartridges. 15. Do not touch the terminal of the tool imme- diately after use as it may get hot enough to cause burns. 16. Do not ...
Makita Grinding Machines Manuals
-
 Makita 9031
User Manual
Makita 9031
User Manual
-
Makita 9031
Manual
-
 Makita 9032
User Manual
Makita 9032
User Manual
-
Makita 9032
Manual
-
 Makita 9403
User Manual
Makita 9403
User Manual
-
Makita 9403
Manual
-
 Makita 9404
User Manual
Makita 9404
User Manual
-
Makita 9404
Manual
-
 Makita 9903
User Manual
Makita 9903
User Manual
-
Makita 9903
Manual
-
 Makita 9920
User Manual
Makita 9920
User Manual
-
Makita 9920
Manual
-
 Makita 9558HN
User Manual
Makita 9558HN
User Manual
-
Makita 9558HN
Manual
-
 Makita 9565CVK
User Manual
Makita 9565CVK
User Manual
-
 Makita 9924DB
User Manual
Makita 9924DB
User Manual
-
Makita 9924DB
Manual
-
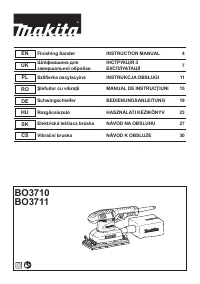 Makita BO3710
User Manual
Makita BO3710
User Manual
-
 Makita BO3711
User Manual
Makita BO3711
User Manual
-
 Makita BO4556
User Manual
Makita BO4556
User Manual