Makita DT03R1 - Manuals
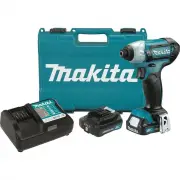
User Manual Makita DT03R1


Summary
2 ENGLISH ENGLISH (Original instructions) SPECIFICATIONS Model: DT03 Fastening capacities Machine screw 4 mm - 8 mm (5/32" - 5/16") Standard bolt 5 mm - 12 mm (3/16" - 1/2") High tensile bolt 5 mm - 10 mm (3/16" - 3/8") No load speed (RPM) 0 - 2,600 /min Impacts per minute 0 ...
3 ENGLISH Power tool use and care 1. Do not force the power tool. Use the correct power tool for your application. The correct power tool will do the job better and safer at the rate for which it was designed. 2. Do not use the power tool if the switch does not turn it on and off. Any power tool tha...
4 ENGLISH (2) Avoid storing battery cartridge in a con- tainer with other metal objects such as nails, coins, etc. (3) Do not expose battery cartridge to water or rain. A battery short can cause a large current flow, overheating, possible burns and even a breakdown. 6. Do not store the tool and batt...
Makita Impact Drivers Manuals
-
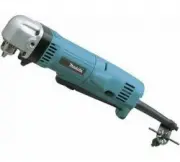
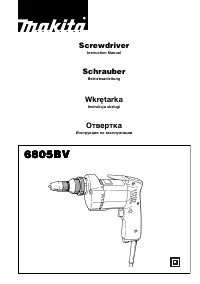 Makita 6805BV
User Manual
Makita 6805BV
User Manual
-
Makita 6805BV
Manual
-
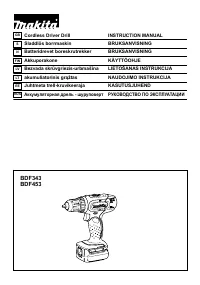
 Makita BDF 460 SJE
User Manual
Makita BDF 460 SJE
User Manual
-
 Makita BDF453SHE
User Manual
Makita BDF453SHE
User Manual
-
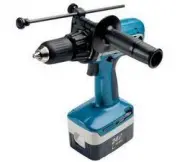
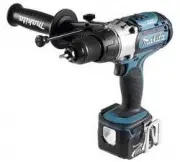 Makita BHP 441 RFE
User Manual
Makita BHP 441 RFE
User Manual
-
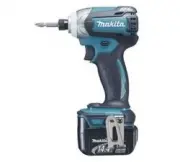 Makita BTD136RFE
User Manual
Makita BTD136RFE
User Manual
-
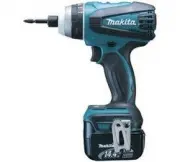
 Makita BTD136Z
User Manual
Makita BTD136Z
User Manual
-
 Makita BTP131RFE
User Manual
Makita BTP131RFE
User Manual
-
 Makita BTP131Z
User Manual
Makita BTP131Z
User Manual
-
 Makita BTP141RFE
User Manual
Makita BTP141RFE
User Manual
-
 Makita BTP141Z
User Manual
Makita BTP141Z
User Manual
-
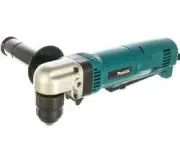
 Makita DA3010F
User Manual
Makita DA3010F
User Manual
-
Makita DA3010F
Manual
-
 Makita DA3011F
User Manual
Makita DA3011F
User Manual
-
Makita DA3011F
Manual
-
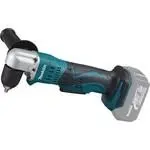 Makita DDA351Z
User Manual
Makita DDA351Z
User Manual
-
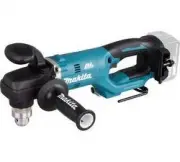 Makita DDA450ZK
User Manual
Makita DDA450ZK
User Manual
-
 Makita DDA460Z
User Manual
Makita DDA460Z
User Manual
-
 Makita DDF 481 RT3J
User Manual
Makita DDF 481 RT3J
User Manual
-
 Makita DDF083RFE
User Manual
Makita DDF083RFE
User Manual