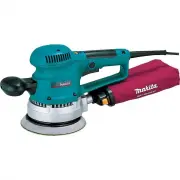
Makita BO6030 - Manuals
Makita BO6030 Grinding Machine – User Manual, Manual in PDF format online.
Manuals:
User Manual Makita BO6030


Summary
2 SPECIFICATIONS • Manufacturer reserves the right to change specifications without notice. • Specifications may differ from country to country. GENERAL SAFETY RULES USA002-2 (For All Tools) WARNING: Read and understand all instructions. Failure to follow all instructions listed below, may result in...
4 24. When servicing a tool, use only identical replacement parts. Follow instructions inthe Maintenance section of this manual. Use of unauthorized parts or failure to followMaintenance instructions may create a risk ofelectric shock or injury. USE PROPER EXTENSION CORD: Make sure your extension co...
7 • The speed adjusting dial can be turned only as far as 5and back to 1. Do not force it past 5 or 1, or the speedadjusting function may no longer work. The tools equipped with electronic function are easy to oper-ate because of the following features. • Electronic constant speed control Possible t...
Manual Makita BO6030


Summary
2 ENGLISH SPECIFICATIONS • Due to our continuing programme of research and development, the specifications herein are subject to change without notice. • Note: Specifications may differ from country to country. GENERAL SAFETY RULES USA002-2 (For All Tools) WARNING: Read and understand all instructio...
3 hearing protection must be used for appropriate con-ditions. Ordinary eye or sun glasses are NOT eyeprotection. Tool Use and Care 15. Use clamps or other practical way to secure and support the workpiece to a stable platform. Hold- ing the work by hand or against your body is unsta-ble and may lea...
4 hazardous substances. Use appropriate respira-tory protection. 8. Be sure that there are no cracks or breakage onthe pad before use. Cracks or breakage maycause a personal injury. SAVE THESE INSTRUCTIONS WARNING: MISUSE or failure to follow the safetyrules stated in this instruction manualmay caus...
Makita Grinding Machines Manuals
-
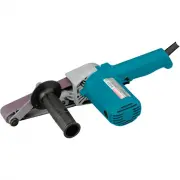 Makita 9031
User Manual
Makita 9031
User Manual
-
Makita 9031
Manual
-
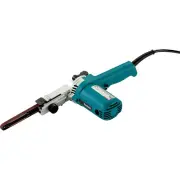 Makita 9032
User Manual
Makita 9032
User Manual
-
Makita 9032
Manual
-
 Makita 9403
User Manual
Makita 9403
User Manual
-
Makita 9403
Manual
-
 Makita 9404
User Manual
Makita 9404
User Manual
-
Makita 9404
Manual
-
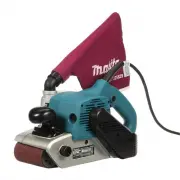
 Makita 9903
User Manual
Makita 9903
User Manual
-
Makita 9903
Manual
-
 Makita 9920
User Manual
Makita 9920
User Manual
-
Makita 9920
Manual
-
 Makita 9558HN
User Manual
Makita 9558HN
User Manual
-
Makita 9558HN
Manual
-
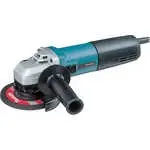 Makita 9565CVK
User Manual
Makita 9565CVK
User Manual
-
 Makita 9924DB
User Manual
Makita 9924DB
User Manual
-
Makita 9924DB
Manual
-
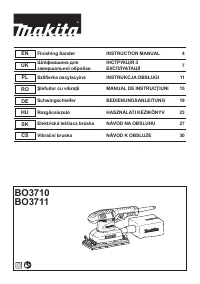 Makita BO3710
User Manual
Makita BO3710
User Manual
-
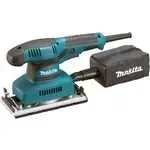 Makita BO3711
User Manual
Makita BO3711
User Manual
-
 Makita BO4556
User Manual
Makita BO4556
User Manual