LG SN5Y - Manuals
LG SN5Y Sound Bar – User Manual in PDF format online.
Manuals:
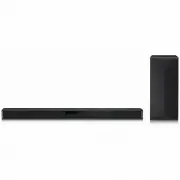
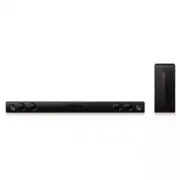
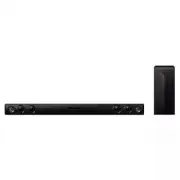
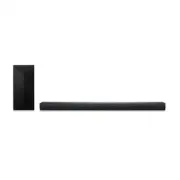
User Manual LG SN5Y


Summary
1 Getting Started Getting Started 2 Getting Star ted 1 Safety Information CAUTION RISK OF ELECTRIC SHOCK DO NOT OPEN CAUTION: TO REDUCE THE RISK OF ELECTRIC SHOCK DO NOT REMOVE COVER (OR BACK) NO USER-SERVICEABLE PARTS INSIDE REFER SERVICING TO QUALIFIED SERVICE PERSONNEL. This lightning flash with ...
Getting Started 3 Getting Star ted 1 CAUTION: Only use the AC adapter supplied with this device. Do not use a power supply from another device or another manufacturer. Using any other power cable or power supply may cause damage to the device and void your warranty. Symbols ~ Refers to alternating c...
Table of Contents 4 2 Connecting 16 Organizing cables (Optional)16 Connecting the AC Adapter17 Wireless subwoofer and rear speaker (Sold Separately) connection 17 – Wireless subwoofer connection18 – Rear speakers connection (Sold Separately) 19 – Surround sound 21 – How to Affix the Ferrite Core22 C...
LG Sound Bars Manuals
-
 LG SN4
User Manual
LG SN4
User Manual
-
 LG SP70Y
User Manual
LG SP70Y
User Manual
-
 LG GX
User Manual
LG GX
User Manual
-
 LG LAB540W
User Manual
LG LAB540W
User Manual
-
 LG LAP240
User Manual
LG LAP240
User Manual
-
 LG LAP340
User Manual
LG LAP340
User Manual
-
LG LAP340
Manual
-
 LG LAS160B
User Manual
LG LAS160B
User Manual
-
 LG LAS260B
User Manual
LG LAS260B
User Manual
-
 LG LAS350B
User Manual
LG LAS350B
User Manual
-
 LG LAS450H
User Manual
LG LAS450H
User Manual
-
 LG LAS454B
User Manual
LG LAS454B
User Manual
-
 LG LAS465B
User Manual
LG LAS465B
User Manual
-
 LG LAS485B
User Manual
LG LAS485B
User Manual
-
 LG LAS551H
User Manual
LG LAS551H
User Manual
-
 LG LAS751M
User Manual
LG LAS751M
User Manual
-
 LG LAS855M
User Manual
LG LAS855M
User Manual
-
 LG LAS950M
User Manual
LG LAS950M
User Manual
-
 LG LASC47
User Manual
LG LASC47
User Manual
-
 LG LASC58R
User Manual
LG LASC58R
User Manual