JVC UX-P400 - Manuals
JVC UX-P400 Sound System – Manual in PDF format online.
Manuals:
Manual JVC UX-P400


Summary
G-3 IMPORTANT FOR LASER PRODUCTS 1. CLASS 1 LASER PRODUCT2. CAUTION: Do not open the top cover. There are no user serviceable parts inside the unit; leave all servicing to qualified service personnel. 3. CAUTION: Visible and invisible laser radiation when open and interlock failed or defeated. Avoid...
1 English Contents Introduction ........................................................ 2 Precautions .......................................................................... 2How to Read This Manual .................................................. 2 Getting Started ...............................
2 English Introduction Precautions Installation • Install in a place which is level, dry and neither too hot nor too cold—between 5°C and 35°C. • Install the System in a location with adequate ventilation to prevent internal heat buildup inside the System. • Leave sufficient distance between the Sys...
JVC Sound Systems Manuals
-
 JVC CA-DXJ20
Manual
JVC CA-DXJ20
Manual
-
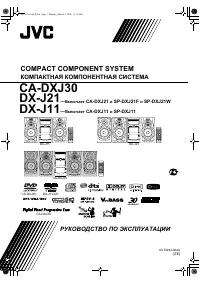 JVC CA-DXJ30
Manual
JVC CA-DXJ30
Manual
-
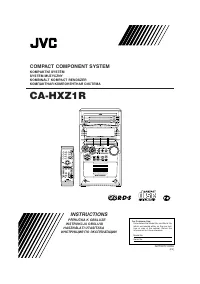 JVC CA-HXZ1R
Manual
JVC CA-HXZ1R
Manual
-
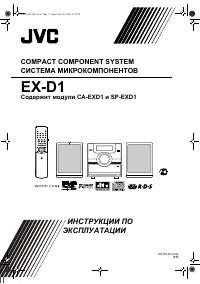 JVC EX-D1
Manual
JVC EX-D1
Manual
-
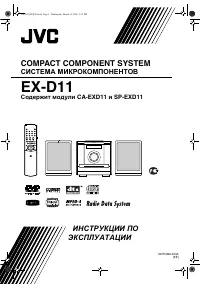 JVC EX-D11
Manual
JVC EX-D11
Manual
-
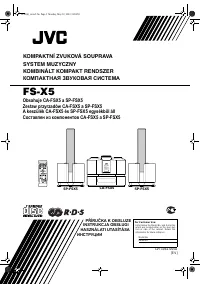 JVC FS-X5
Manual
JVC FS-X5
Manual
-
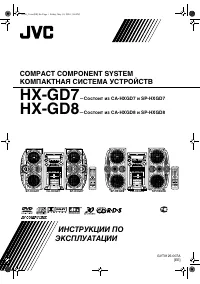 JVC HX-GD7
Manual
JVC HX-GD7
Manual
-
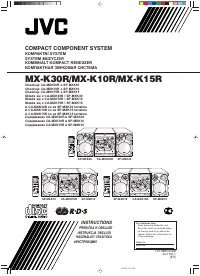 JVC MX-K10R
User Manual
JVC MX-K10R
User Manual
-
 JVC MX-K15R
User Manual
JVC MX-K15R
User Manual
-
 JVC MX-K30R
User Manual
JVC MX-K30R
User Manual
-
 JVC NX-F3
Manual
JVC NX-F3
Manual
-
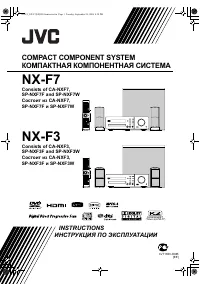 JVC NX-F7
Manual
JVC NX-F7
Manual
-
 JVC NX-PB10
Manual
JVC NX-PB10
Manual
-
 JVC NX-PN7
Manual
JVC NX-PN7
Manual
-
 JVC NX-SA1B (R) (W)
User Manual
JVC NX-SA1B (R) (W)
User Manual
-
 JVC SP-DW103
User Manual
JVC SP-DW103
User Manual
-
JVC SP-DW103
Manual
-
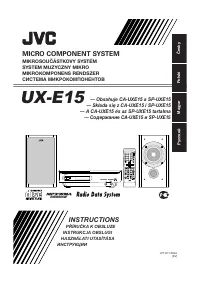 JVC UX-E15
Manual
JVC UX-E15
Manual
-
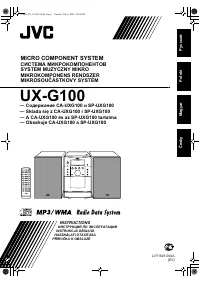 JVC UX-G100
Manual
JVC UX-G100
Manual
-
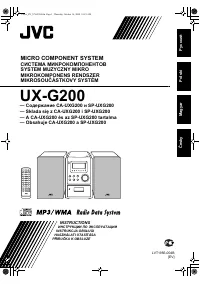 JVC UX-G200
User Manual
JVC UX-G200
User Manual