JVC UX-H100 - Manuals
JVC UX-H100 Sound System – Manual in PDF format online.
Manuals:
Manual JVC UX-H100


Summary
G-1 Warnings, Cautions and Others CAUTION— STANDBY/ON button ! Disconnect the mains plug to shut the power off completely (all lampsand indications go off). The STANDBY/ON button in any position does not disconnect the mains line.• When the unit is on standby, the STANDBY lamp lights red.• When the ...
1 Power sources • When unplugging the unit from the wall outlet, always pull on the plug, not the AC power cord. DO NOT handle the AC power cord with wethands. Moisture condensation Moisture may condense on the lenses inside the unit in thefollowing cases:• After starting to heat the room.• In a dam...
2 Contents Location of the Buttons and Controls ............................. 3 Main Unit .................................................................................. 3Remote Control ......................................................................... 5 Getting Started ......................
JVC Sound Systems Manuals
-
 JVC CA-DXJ20
Manual
JVC CA-DXJ20
Manual
-
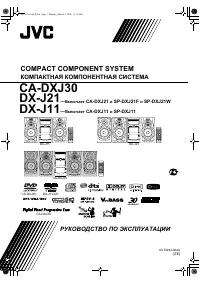 JVC CA-DXJ30
Manual
JVC CA-DXJ30
Manual
-
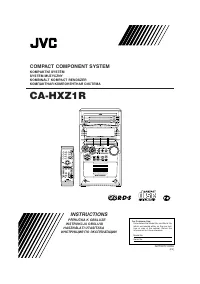 JVC CA-HXZ1R
Manual
JVC CA-HXZ1R
Manual
-
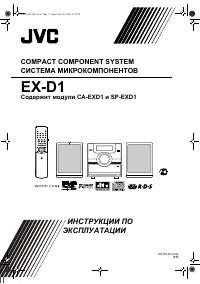 JVC EX-D1
Manual
JVC EX-D1
Manual
-
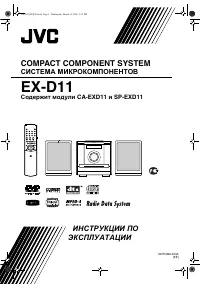 JVC EX-D11
Manual
JVC EX-D11
Manual
-
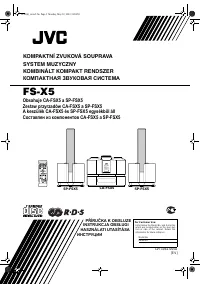 JVC FS-X5
Manual
JVC FS-X5
Manual
-
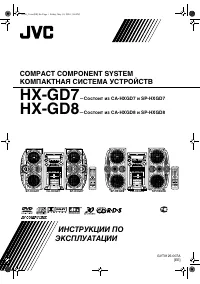 JVC HX-GD7
Manual
JVC HX-GD7
Manual
-
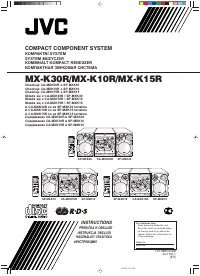 JVC MX-K10R
User Manual
JVC MX-K10R
User Manual
-
 JVC MX-K15R
User Manual
JVC MX-K15R
User Manual
-
 JVC MX-K30R
User Manual
JVC MX-K30R
User Manual
-
 JVC NX-F3
Manual
JVC NX-F3
Manual
-
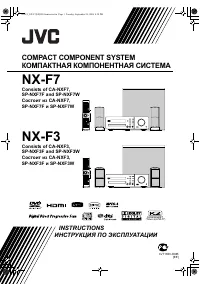 JVC NX-F7
Manual
JVC NX-F7
Manual
-
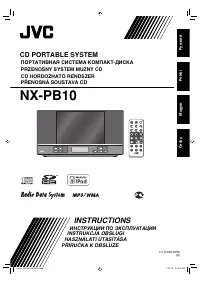 JVC NX-PB10
Manual
JVC NX-PB10
Manual
-
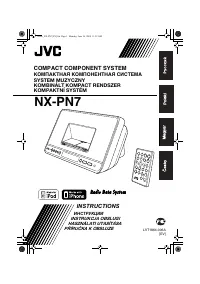 JVC NX-PN7
Manual
JVC NX-PN7
Manual
-
 JVC NX-SA1B (R) (W)
User Manual
JVC NX-SA1B (R) (W)
User Manual
-
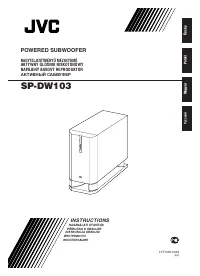 JVC SP-DW103
User Manual
JVC SP-DW103
User Manual
-
JVC SP-DW103
Manual
-
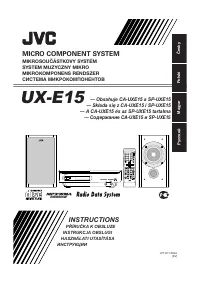 JVC UX-E15
Manual
JVC UX-E15
Manual
-
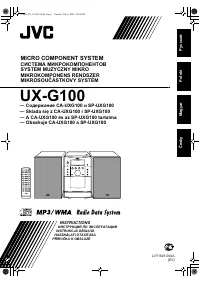 JVC UX-G100
Manual
JVC UX-G100
Manual
-
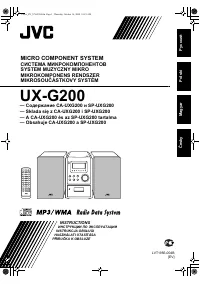 JVC UX-G200
User Manual
JVC UX-G200
User Manual