JVC KW-AVX716 - Manuals
JVC KW-AVX716 Car Radio – Manual in PDF format online.
Manuals:
Manual JVC KW-AVX716


Summary
ENGLISH 2 Thank you for purchasing a JVC product. Please read all instructions carefully before operation, to ensure your complete understanding and to obtain the best possible performance from the unit. IMPORTANT FOR LASER PRODUCTS 1. CLASS 1 LASER PRODUCT2. CAUTION: Do not open the top cover. Ther...
3 ENGLISH INTRODUCTION How to reset your unit How to forcibly eject a disc • If this does not work, reset the unit. Cautions on the monitor: • The monitor built in this unit has been produced with high precision, but it may have some ineffective dots. This is inevitable and is not malfunction. • Do ...
ENGLISH 4 Disc type Recording format, file type, etc. Playable DVD DVD Video (Region Code: 1)* 1 DVD Audio DVD-ROM DVD Recordable/Rewritable(DVD-R/-RW* 2 , +R/+RW* 3 ) • DVD Video: UDF bridge• DVD-VR• DivX/MPEG1/MPEG2/JPEG/MP3/ WMA/WAV: ISO 9660 level 1, level 2, Romeo, Joliet DVD Video DVD-VR DivX/...
JVC Car Radios Manuals
-
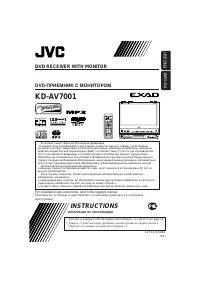 JVC KD-AV7001
User Manual
JVC KD-AV7001
User Manual
-
JVC KD-AV7001
Manual
-
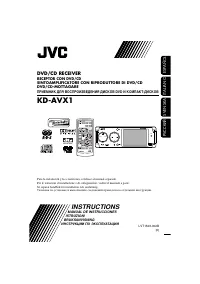 JVC KD-AVX1
Manual
JVC KD-AVX1
Manual
-
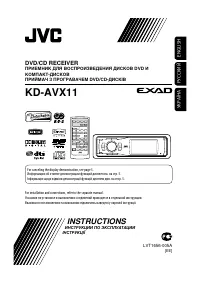 JVC KD-AVX11
User Manual
JVC KD-AVX11
User Manual
-
JVC KD-AVX11
Manual
-
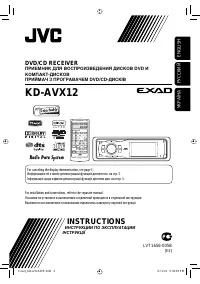 JVC KD-AVX12
User Manual
JVC KD-AVX12
User Manual
-
 JVC KD-AVX2
User Manual
JVC KD-AVX2
User Manual
-
JVC KD-AVX2
Manual
-
 JVC KD-AVX20
User Manual
JVC KD-AVX20
User Manual
-
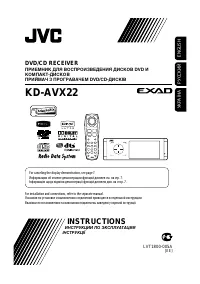 JVC KD-AVX22
User Manual
JVC KD-AVX22
User Manual
-
JVC KD-AVX22
Manual
-
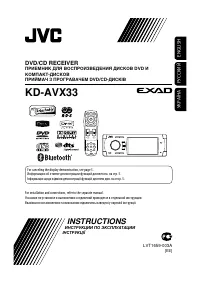 JVC KD-AVX33
User Manual
JVC KD-AVX33
User Manual
-
JVC KD-AVX33
Manual
-
 JVC KD-AVX40
User Manual
JVC KD-AVX40
User Manual
-
JVC KD-AVX40
Manual
-
 JVC KD-AVX44
User Manual
JVC KD-AVX44
User Manual
-
 JVC KD-AVX55
User Manual
JVC KD-AVX55
User Manual
-
 JVC KD-AVX77
User Manual
JVC KD-AVX77
User Manual
-
JVC KD-AVX77
Manual
-
 JVC KD-BT1
User Manual
JVC KD-BT1
User Manual