JVC EX-D11 - Manuals
JVC EX-D11 Sound System – Manual in PDF format online.
Manuals:
Manual JVC EX-D11


Summary
G-1 CAUTION To reduce the risk of electrical shocks, fire, etc.:1. Do not remove screws, covers or cabinet.2. Do not expose this appliance to rain or moisture. ATTENTION Afin d’éviter tout risque d’électrocution, d’incendie, etc.:1. Ne pas enlever les vis ni les panneaux et ne pas ouvrir le coffret ...
1 Introduction Special cautions .............................................. 2 Notes on handling ............................................... 2Supplied accessories .......................................... 2 About discs ...................................................... 3 Playable disc typ...
2 7 Important cautions Installation of the system • Select a place which is level, dry and neither too hot nor too cold; between 5°C and 35°C (between 41°F and 95°F). • Leave sufficient distance between the system and the TV. • Do not use the system in a place subject to vibration. Power cord • Do n...
JVC Sound Systems Manuals
-
 JVC CA-DXJ20
Manual
JVC CA-DXJ20
Manual
-
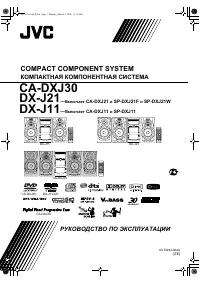 JVC CA-DXJ30
Manual
JVC CA-DXJ30
Manual
-
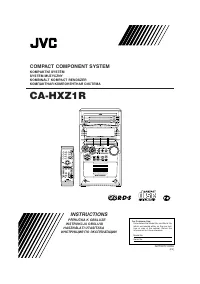 JVC CA-HXZ1R
Manual
JVC CA-HXZ1R
Manual
-
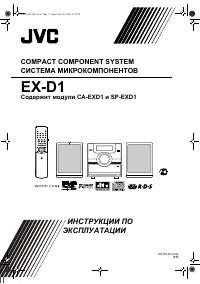 JVC EX-D1
Manual
JVC EX-D1
Manual
-
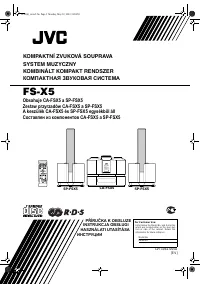 JVC FS-X5
Manual
JVC FS-X5
Manual
-
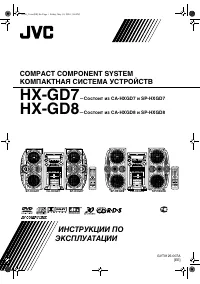 JVC HX-GD7
Manual
JVC HX-GD7
Manual
-
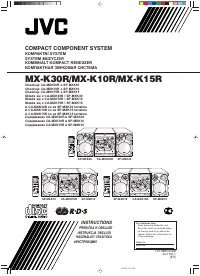 JVC MX-K10R
User Manual
JVC MX-K10R
User Manual
-
 JVC MX-K15R
User Manual
JVC MX-K15R
User Manual
-
 JVC MX-K30R
User Manual
JVC MX-K30R
User Manual
-
 JVC NX-F3
Manual
JVC NX-F3
Manual
-
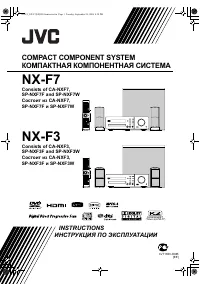 JVC NX-F7
Manual
JVC NX-F7
Manual
-
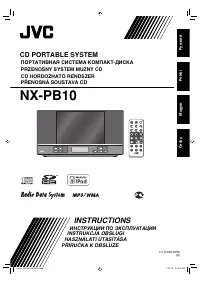 JVC NX-PB10
Manual
JVC NX-PB10
Manual
-
 JVC NX-PN7
Manual
JVC NX-PN7
Manual
-
 JVC NX-SA1B (R) (W)
User Manual
JVC NX-SA1B (R) (W)
User Manual
-
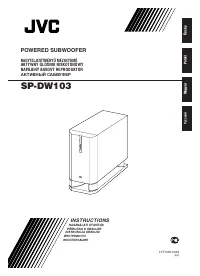 JVC SP-DW103
User Manual
JVC SP-DW103
User Manual
-
JVC SP-DW103
Manual
-
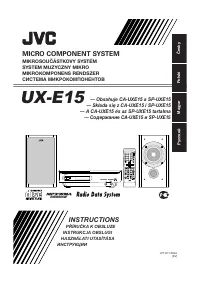 JVC UX-E15
Manual
JVC UX-E15
Manual
-
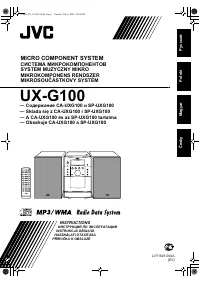 JVC UX-G100
Manual
JVC UX-G100
Manual
-
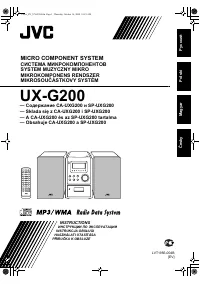 JVC UX-G200
User Manual
JVC UX-G200
User Manual
-
JVC UX-G200
Manual