Fisher & Paykel OM24NDB1 - Manuals
Fisher & Paykel OM24NDB1 Oven – User Manual in PDF format online.
Manuals:
User Manual Fisher & Paykel OM24NDB1


Summary
3 CONTENTS Safety and warnings 5 Before you begin 9 Control panel 10 accessories 11First use 12 Using the oven light 16 Using the timer 17 cooking guide 18 Automatic cooking 21 Microwave cooking 23 Recipes 24Event logs 27 Troubleshooting 28Warranty and service 30 Registration To register your produc...
5 SAFETY AND WARNINGS ! WARNING! Electric Shock Hazard Failure to follow this advice may result in electric shock or death. • Before carrying out any work on the electrical section of the appliance, it must be disconnected from the mains electricity supply. • Connection to a good ground wiring syste...
6 SAFETY AND WARNINGS WARNING! To reduce the risk of fire, electrical shock, injury to persons or damage when using the appliance, follow the important safety instructions listed below. Read all the instructions before use. Use only for its intended purpose as described in these instructions. Electr...
Fisher & Paykel Ovens Manuals
-
 Fisher & Paykel OB30SCEPX3N
User Manual
Fisher & Paykel OB30SCEPX3N
User Manual
-
 Fisher & Paykel OB30SDPTDB1
User Manual
Fisher & Paykel OB30SDPTDB1
User Manual
-
 Fisher & Paykel OB60SC7CEPX3
User Manual
Fisher & Paykel OB60SC7CEPX3
User Manual
-
 Fisher & Paykel OB60SD11PB1
User Manual
Fisher & Paykel OB60SD11PB1
User Manual
-
 Fisher & Paykel OB60SD9PB1
User Manual
Fisher & Paykel OB60SD9PB1
User Manual
-
 Fisher & Paykel OB60SD9X1
User Manual
Fisher & Paykel OB60SD9X1
User Manual
-
 Fisher & Paykel OB60SL11DCPX1
User Manual
Fisher & Paykel OB60SL11DCPX1
User Manual
-
 Fisher & Paykel OB60SL9DEX1
User Manual
Fisher & Paykel OB60SL9DEX1
User Manual
-
 Fisher & Paykel OB76DDPTDX2
User Manual
Fisher & Paykel OB76DDPTDX2
User Manual
-
 Fisher & Paykel OR90SCG1X1
User Manual
Fisher & Paykel OR90SCG1X1
User Manual
-
 Fisher & Paykel OR90SCG6W1
User Manual
Fisher & Paykel OR90SCG6W1
User Manual
-
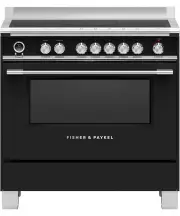
 Fisher & Paykel OR90SCI4B1
User Manual
Fisher & Paykel OR90SCI4B1
User Manual
-
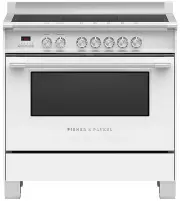 Fisher & Paykel OR90SCI4W1
User Manual
Fisher & Paykel OR90SCI4W1
User Manual
-
 Fisher & Paykel OR90SCI6B1
User Manual
Fisher & Paykel OR90SCI6B1
User Manual
-
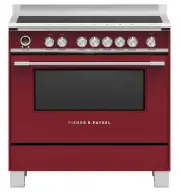 Fisher & Paykel OR90SCI6R1
User Manual
Fisher & Paykel OR90SCI6R1
User Manual
-
 Fisher & Paykel OR90SDBSIX2
User Manual
Fisher & Paykel OR90SDBSIX2
User Manual
-
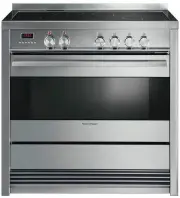
 Fisher & Paykel OR90SPG6X1
User Manual
Fisher & Paykel OR90SPG6X1
User Manual
-
 Fisher & Paykel OR90SPI6X1
User Manual
Fisher & Paykel OR90SPI6X1
User Manual
-
 Fisher & Paykel OS60SDTB1
User Manual
Fisher & Paykel OS60SDTB1
User Manual
-
 Fisher & Paykel WOSV230N
User Manual
Fisher & Paykel WOSV230N
User Manual