Fisher & Paykel OB60SL9DEX1 - Manuals
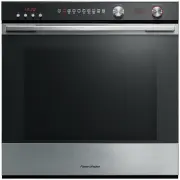
User Manual Fisher & Paykel OB60SL9DEX1


Summary
1 Contents Safety and warnings 3 Introduction 12 The control panel 13 First use 14 Using the timer 16 Cooking guide 18 Oven functions 20 Cooking charts 24 Automatic cooking 30 Care and cleaning 34 Troubleshooting 48 Warranty and service 50 Important! SAVE THESE INSTRUCTIONS The models shown in this ...
3 Safety and warnings Your oven has been carefully designed to operate safely during normal cooking procedures. Please keep the following safety instructions in mind when you are using it: WARNING! Electrical Shock Hazard Turn the oven off at the wall before replacing the oven lamp.Failure to follow...
4 Safety and warnings WARNING! Fire Hazard Do not place aluminium foil, dishes, trays, water or ice on the oven floor during cooking, as doing so will irreversibly damage the enamel; lining the oven with aluminium foil may even cause fire.Never use your appliance for warming or heating the room. Per...
Fisher & Paykel Ovens Manuals
-
 Fisher & Paykel OB30SCEPX3N
User Manual
Fisher & Paykel OB30SCEPX3N
User Manual
-
 Fisher & Paykel OB30SDPTDB1
User Manual
Fisher & Paykel OB30SDPTDB1
User Manual
-
 Fisher & Paykel OB60SC7CEPX3
User Manual
Fisher & Paykel OB60SC7CEPX3
User Manual
-
 Fisher & Paykel OB60SD11PB1
User Manual
Fisher & Paykel OB60SD11PB1
User Manual
-
 Fisher & Paykel OB60SD9PB1
User Manual
Fisher & Paykel OB60SD9PB1
User Manual
-
 Fisher & Paykel OB60SD9X1
User Manual
Fisher & Paykel OB60SD9X1
User Manual
-
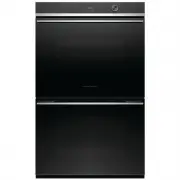
 Fisher & Paykel OB60SL11DCPX1
User Manual
Fisher & Paykel OB60SL11DCPX1
User Manual
-
 Fisher & Paykel OB76DDPTDX2
User Manual
Fisher & Paykel OB76DDPTDX2
User Manual
-
 Fisher & Paykel OM24NDB1
User Manual
Fisher & Paykel OM24NDB1
User Manual
-
 Fisher & Paykel OR90SCG1X1
User Manual
Fisher & Paykel OR90SCG1X1
User Manual
-
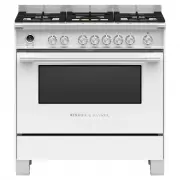 Fisher & Paykel OR90SCG6W1
User Manual
Fisher & Paykel OR90SCG6W1
User Manual
-
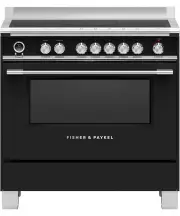
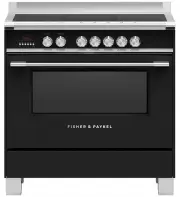 Fisher & Paykel OR90SCI4B1
User Manual
Fisher & Paykel OR90SCI4B1
User Manual
-
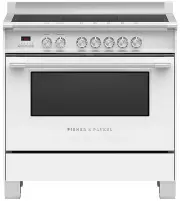 Fisher & Paykel OR90SCI4W1
User Manual
Fisher & Paykel OR90SCI4W1
User Manual
-
 Fisher & Paykel OR90SCI6B1
User Manual
Fisher & Paykel OR90SCI6B1
User Manual
-
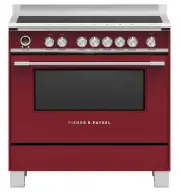 Fisher & Paykel OR90SCI6R1
User Manual
Fisher & Paykel OR90SCI6R1
User Manual
-
 Fisher & Paykel OR90SDBSIX2
User Manual
Fisher & Paykel OR90SDBSIX2
User Manual
-
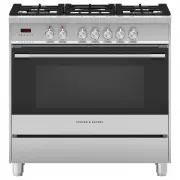
 Fisher & Paykel OR90SPG6X1
User Manual
Fisher & Paykel OR90SPG6X1
User Manual
-
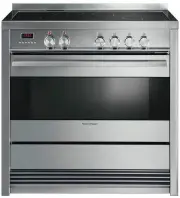
 Fisher & Paykel OR90SPI6X1
User Manual
Fisher & Paykel OR90SPI6X1
User Manual
-
 Fisher & Paykel OS60SDTB1
User Manual
Fisher & Paykel OS60SDTB1
User Manual
-
 Fisher & Paykel WOSV230N
User Manual
Fisher & Paykel WOSV230N
User Manual