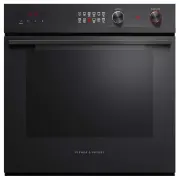
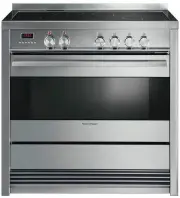
Fisher & Paykel OB60SC7CEPX3 - Manuals

User Manual Fisher & Paykel OB60SC7CEPX3
1

2

3

4

5

6

7

8

9

10

11

12

13

14

15

16

17

18

19

20

21

22

23

24

25

26

27

28

29

30

31

32

33

34

35

36

37

38

39

40

41

42

43

44

45

46

47

48

49

50

51

52

53

54

55

56

57

58

59

60

61

62

63

64

65

66

67

68

69

70

71

72

Summary
Page 3 - CONTENTS; SAVE THESE INSTRUCTIONS
1 CONTENTS IMPORTANT! SAVE THESE INSTRUCTIONS The models shown in this user guide may not be available in all markets and are subject to change at any time. For current details about model and specification availability in your country, please go to our website www.fisherpaykel.com or contact your l...
Page 5 - SAFETY AND WARNINGS; Electrical Shock Hazard
3 Your oven has been carefully designed to operate safely during normal cooking procedures. Please keep the following safety instructions in mind when you are using it: SAFETY AND WARNINGS WARNING! Electrical Shock Hazard Turn the oven off at the wall before replacing the oven lamp. Failure to follo...
Page 8 - Cut Hazard
6 SAFETY AND WARNINGS WARNING! Cut Hazard Take care - some edges are sharp. Failure to use caution could result in injury or cuts. !
Fisher & Paykel Ovens Manuals
-
 Fisher & Paykel OB30SCEPX3N
User Manual
Fisher & Paykel OB30SCEPX3N
User Manual
-
 Fisher & Paykel OB30SDPTDB1
User Manual
Fisher & Paykel OB30SDPTDB1
User Manual
-
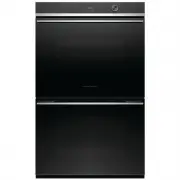
 Fisher & Paykel OB60SD11PB1
User Manual
Fisher & Paykel OB60SD11PB1
User Manual
-
 Fisher & Paykel OB60SD9PB1
User Manual
Fisher & Paykel OB60SD9PB1
User Manual
-
 Fisher & Paykel OB60SD9X1
User Manual
Fisher & Paykel OB60SD9X1
User Manual
-
 Fisher & Paykel OB60SL11DCPX1
User Manual
Fisher & Paykel OB60SL11DCPX1
User Manual
-
 Fisher & Paykel OB60SL9DEX1
User Manual
Fisher & Paykel OB60SL9DEX1
User Manual
-
 Fisher & Paykel OB76DDPTDX2
User Manual
Fisher & Paykel OB76DDPTDX2
User Manual
-
 Fisher & Paykel OM24NDB1
User Manual
Fisher & Paykel OM24NDB1
User Manual
-
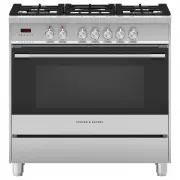 Fisher & Paykel OR90SCG1X1
User Manual
Fisher & Paykel OR90SCG1X1
User Manual
-
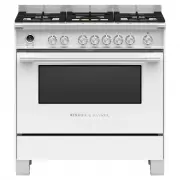 Fisher & Paykel OR90SCG6W1
User Manual
Fisher & Paykel OR90SCG6W1
User Manual
-
 Fisher & Paykel OR90SCI4B1
User Manual
Fisher & Paykel OR90SCI4B1
User Manual
-
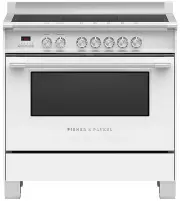 Fisher & Paykel OR90SCI4W1
User Manual
Fisher & Paykel OR90SCI4W1
User Manual
-
 Fisher & Paykel OR90SCI6B1
User Manual
Fisher & Paykel OR90SCI6B1
User Manual
-
 Fisher & Paykel OR90SCI6R1
User Manual
Fisher & Paykel OR90SCI6R1
User Manual
-
 Fisher & Paykel OR90SDBSIX2
User Manual
Fisher & Paykel OR90SDBSIX2
User Manual
-
 Fisher & Paykel OR90SPG6X1
User Manual
Fisher & Paykel OR90SPG6X1
User Manual
-
 Fisher & Paykel OR90SPI6X1
User Manual
Fisher & Paykel OR90SPI6X1
User Manual
-
 Fisher & Paykel OS60SDTB1
User Manual
Fisher & Paykel OS60SDTB1
User Manual
-
 Fisher & Paykel WOSV230N
User Manual
Fisher & Paykel WOSV230N
User Manual