Fisher & Paykel OB60B77CEX3 - Manuals
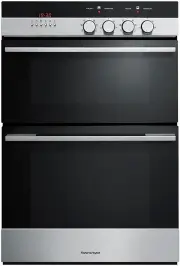
User Manual Fisher & Paykel OB60B77CEX3


Summary
1 Contents Safety and warnings 2 Installation instructions 4 Oven controls and setting the clock 10 First use 14 Using your oven 15 Oven functions 16 Baking charts 18 Cooking with ‘auto-off ’ 22 Using the timer 23 Automatic cooking 24 Care and cleaning 25 Warranty and service 36 Important! SAVE THES...
2 Safety and warnings WARNING! Cut Hazard Take care - panel edges are sharp. Failure to use caution could result in injury or cuts. WARNING! Fire Hazard Do not use adapters, reducers, or branching devices to connect this appliance to the mains power supply. Failure to follow this advice may result i...
3 Safety and warnings Operation and maintenance Your built-in oven has been carefully designed to operate safely during normal cooking procedures. Please keep the following guidelines in mind when you are using your oven: WARNING! Hot Surface Hazard Accessible parts may become hot when this oven is ...
Fisher & Paykel Ovens Manuals
-
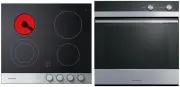 Fisher & Paykel CE604CBX1OB60SC5CEX1
User Manual
Fisher & Paykel CE604CBX1OB60SC5CEX1
User Manual
-
 Fisher & Paykel CG604CWCX1OB60SC5CEX
User Manual
Fisher & Paykel CG604CWCX1OB60SC5CEX
User Manual
-
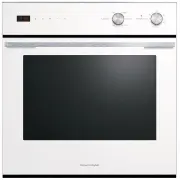
 Fisher & Paykel OB24SD11PLX1
User Manual
Fisher & Paykel OB24SD11PLX1
User Manual
-
Fisher & Paykel OB24SD16PLX1
User Manual
-
 Fisher & Paykel OB24SDPTDX2
User Manual
Fisher & Paykel OB24SDPTDX2
User Manual
-
 Fisher & Paykel OB30DDPTDX2
User Manual
Fisher & Paykel OB30DDPTDX2
User Manual
-
 Fisher & Paykel OB30DPPTX1
User Manual
Fisher & Paykel OB30DPPTX1
User Manual
-
 Fisher & Paykel OB30SCEPX3N
User Manual
Fisher & Paykel OB30SCEPX3N
User Manual
-
 Fisher & Paykel OB30SD14PLX1
User Manual
Fisher & Paykel OB30SD14PLX1
User Manual
-
 Fisher & Paykel OB30SD17PLX1
User Manual
Fisher & Paykel OB30SD17PLX1
User Manual
-
Fisher & Paykel OB30SDPTB1
User Manual
-
Fisher & Paykel OB30SDPTDB1
User Manual
-
Fisher & Paykel OB30SDPTDX2
User Manual
-
Fisher & Paykel OB30SPPTX1
User Manual
-
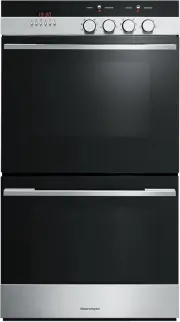
 Fisher & Paykel OB60B77CEW3
User Manual
Fisher & Paykel OB60B77CEW3
User Manual
-
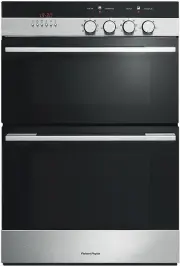 Fisher & Paykel OB60B77DEX3
User Manual
Fisher & Paykel OB60B77DEX3
User Manual
-
 Fisher & Paykel OB60DDEX4
User Manual
Fisher & Paykel OB60DDEX4
User Manual
-
 Fisher & Paykel OB60NC9DEX1
User Manual
Fisher & Paykel OB60NC9DEX1
User Manual
-
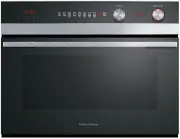
 Fisher & Paykel OB60SC5CEW1
User Manual
Fisher & Paykel OB60SC5CEW1
User Manual
-
 Fisher & Paykel OB60SC5CEX1
User Manual
Fisher & Paykel OB60SC5CEX1
User Manual