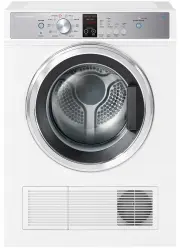
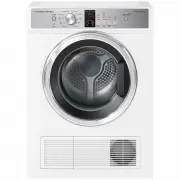
Fisher & Paykel DH9060HL1 - Manuals
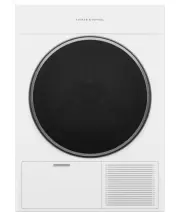
User Manual Fisher & Paykel DH9060HL1


Summary
2 COMPONENTS REQUIRED TOOLS PARTS Supplied F 6mm Allen key F Spanner (washer) F Spanner (plinth) Not supplied F Box cutter F Phillips screwdriver F Level Supplied and required F 4x M10 bolts F 2x plinth bolt hole covers F 4x short stacking kit screws F 2x long stacking kit screws Supplied and to be ...
3 ACCESSING YOUR PRODUCT SPECIFICATIONS For full product, cabinetry and service specifications, refer to the Planning Guide. To access the Planning Guide, scan the QR code or visit fisherpaykel.com/specify. Search by appliance type, product name or model code. 1220 1260 1900 700 1920 700
4 PRIOR TO INSTALLATION 3. Ensure power will remain accessible following install to allow access for any future product maintenance.Service holes should be smooth with gromets installed where required.Refer to the services section of the Planning Guide for more details. 2. Ensure floor is level and ...
Fisher & Paykel Dryers Manuals
-
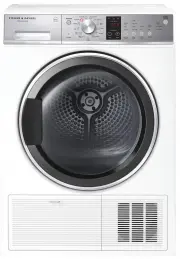 Fisher & Paykel DC8060P1
User Manual
Fisher & Paykel DC8060P1
User Manual
-
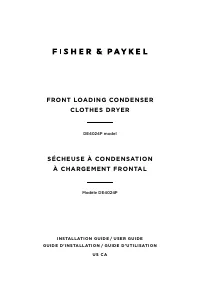 Fisher & Paykel DE4024P2
User Manual
Fisher & Paykel DE4024P2
User Manual
-
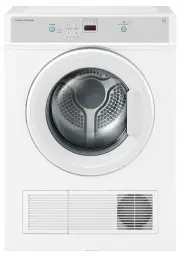 Fisher & Paykel DE4060M1
User Manual
Fisher & Paykel DE4060M1
User Manual
-
 Fisher & Paykel DE40F56A2
User Manual
Fisher & Paykel DE40F56A2
User Manual
-
 Fisher & Paykel DE4560M1
User Manual
Fisher & Paykel DE4560M1
User Manual
-
 Fisher & Paykel DE5060G1
User Manual
Fisher & Paykel DE5060G1
User Manual
-
 Fisher & Paykel DE5060M1
User Manual
Fisher & Paykel DE5060M1
User Manual
-
 Fisher & Paykel DE50F56A2
User Manual
Fisher & Paykel DE50F56A2
User Manual
-
 Fisher & Paykel DE50F56E1
User Manual
Fisher & Paykel DE50F56E1
User Manual
-
 Fisher & Paykel DE6060G1
User Manual
Fisher & Paykel DE6060G1
User Manual
-
 Fisher & Paykel DE6060M1
User Manual
Fisher & Paykel DE6060M1
User Manual
-
 Fisher & Paykel DE6060M2
User Manual
Fisher & Paykel DE6060M2
User Manual
-
 Fisher & Paykel DE6060P1
User Manual
Fisher & Paykel DE6060P1
User Manual
-
 Fisher & Paykel DE7060G1
User Manual
Fisher & Paykel DE7060G1
User Manual
-
 Fisher & Paykel DE7060G2
User Manual
Fisher & Paykel DE7060G2
User Manual
-
 Fisher & Paykel DE7060P1
User Manual
Fisher & Paykel DE7060P1
User Manual
-
 Fisher & Paykel DE7060P2
User Manual
Fisher & Paykel DE7060P2
User Manual
-
 Fisher & Paykel DE8060P1
User Manual
Fisher & Paykel DE8060P1
User Manual
-
 Fisher & Paykel DE8060P2
User Manual
Fisher & Paykel DE8060P2
User Manual
-
 Fisher & Paykel DE8060P3
User Manual
Fisher & Paykel DE8060P3
User Manual