Dishlex DSF6305X - Manuals
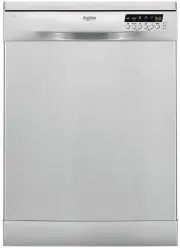
User Manual Dishlex DSF6305X


Summary
Contents Safety information 2 Safety instructions 3 Control panel 4 Programs 5 Settings 6 Before first use 7 Daily use 7 Hints and tips 10 Care and cleaning 11 Troubleshooting 12 Technical information 13 Warranty 14 Subject to change without notice. Safety information Before the installation and use...
• If the supply cord is damaged, it must be replaced by the manufacturer, its Authorised Service Centre or a similarly qualified persons in order to avoid a hazard. • Put knives and cutlery with sharp points in the cutlery basket with the points down or in a horizontal position. • Do not keep the ap...
• Do not drink and play with the water in the appliance. • Do not remove the dishes from the appliance until the programme is completed. There can be detergent on the dishes. • The appliance can release hot steam if you open the door while a programme operates. • Do not put flammable products or ite...
Dishlex Dishwashers Manuals
-
 Dishlex DSF6104WA
User Manual
Dishlex DSF6104WA
User Manual
-
 Dishlex DSF6104XA
User Manual
Dishlex DSF6104XA
User Manual
-
 Dishlex DSF6105W
User Manual
Dishlex DSF6105W
User Manual
-
 Dishlex DSF6105X
User Manual
Dishlex DSF6105X
User Manual
-
 Dishlex DSF6106W
User Manual
Dishlex DSF6106W
User Manual
-
 Dishlex DSF6106X
User Manual
Dishlex DSF6106X
User Manual
-
 Dishlex DSF6205W
User Manual
Dishlex DSF6205W
User Manual
-
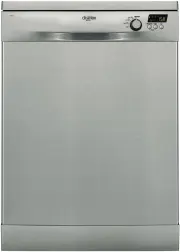 Dishlex DSF6205X
User Manual
Dishlex DSF6205X
User Manual
-
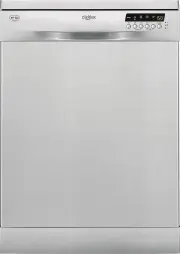 Dishlex DSF6206X
User Manual
Dishlex DSF6206X
User Manual
-
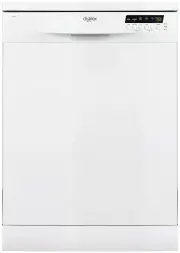 Dishlex DSF6305W
User Manual
Dishlex DSF6305W
User Manual
-
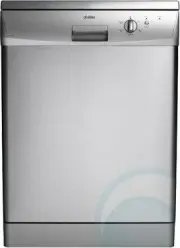 Dishlex DX103SK
User Manual
Dishlex DX103SK
User Manual
-
 Dishlex DX103WK
User Manual
Dishlex DX103WK
User Manual
-
 Dishlex DX203SK
User Manual
Dishlex DX203SK
User Manual
-
 Dishlex DX301WK
User Manual
Dishlex DX301WK
User Manual