De Dietrich DOP8786A - Manuals
User Manual De Dietrich DOP8786A
1
2
3
4

5
6
7
8
9
10
11
12

13
14
15
16
17
18
19
20
21
22
23
24
25
26
27
28
29
Summary
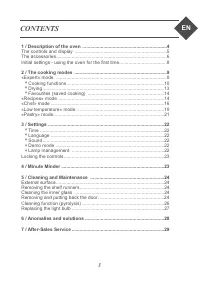
Page 3 - CONTENTS
3 CONTENTS EN 1 / Description of the oven ................................................................4 The controls and display ......................................................................5The accessories....................................................................................
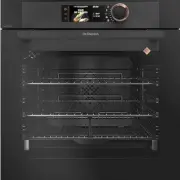
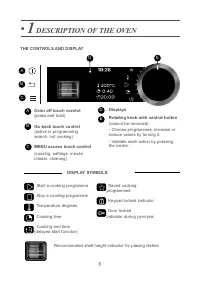
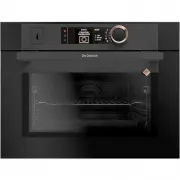
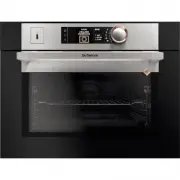
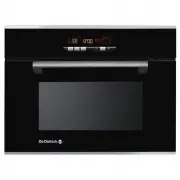
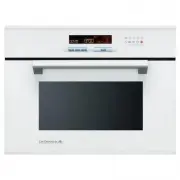
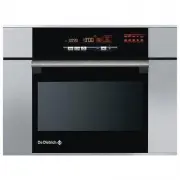
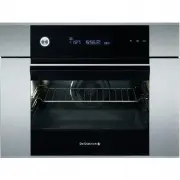
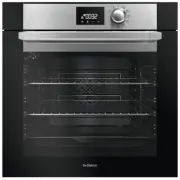
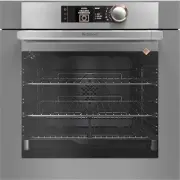
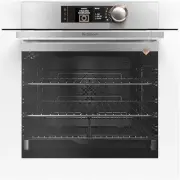
Page 4 - DESCRIPTION OF THE OVEN; Control panel
4 C A B • 1 DESCRIPTION OF THE OVEN DESCRIPTION OF THE OVEN A B Control panel Lamp Shelf runners (6 heights available) C
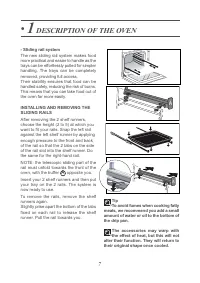
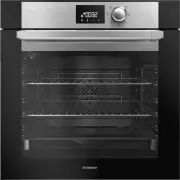
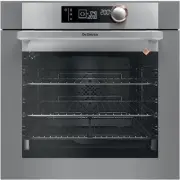
Page 7 - - Sliding rail system
7 • 1 DESCRIPTION OF THE OVEN - Sliding rail system The new sliding rail system makes foodmore practical and easier to handle as thetrays can be effortlessly pulled for simplerhandling. The trays can be completelyremoved, providing full access.Their stability ensures that food can behandled safely, ...
De Dietrich Ovens Manuals
-
 De Dietrich DKR7580A
User Manual
De Dietrich DKR7580A
User Manual
-
 De Dietrich DKR7580G
User Manual
De Dietrich DKR7580G
User Manual
-
 De Dietrich DKR7580X
User Manual
De Dietrich DKR7580X
User Manual
-
 De Dietrich DME 795 B
User Manual
De Dietrich DME 795 B
User Manual
-
 De Dietrich DME 795 W
User Manual
De Dietrich DME 795 W
User Manual
-
 De Dietrich DME 795 XS
User Manual
De Dietrich DME 795 XS
User Manual
-
 De Dietrich DOE 900 X
User Manual
De Dietrich DOE 900 X
User Manual
-
 De Dietrich DOE7210BM
User Manual
De Dietrich DOE7210BM
User Manual
-
 De Dietrich DOP1145B
User Manual
De Dietrich DOP1145B
User Manual
-
 De Dietrich DOP1145X
User Manual
De Dietrich DOP1145X
User Manual
-
 De Dietrich DOP6557B
User Manual
De Dietrich DOP6557B
User Manual
-
 De Dietrich DOP6557DG
User Manual
De Dietrich DOP6557DG
User Manual
-
 De Dietrich DOP6557W
User Manual
De Dietrich DOP6557W
User Manual
-
 De Dietrich DOP6557X
User Manual
De Dietrich DOP6557X
User Manual
-
 De Dietrich DOP7200BM
User Manual
De Dietrich DOP7200BM
User Manual
-
 De Dietrich DOP7230X
User Manual
De Dietrich DOP7230X
User Manual
-
 De Dietrich DOP7350G
User Manual
De Dietrich DOP7350G
User Manual
-
 De Dietrich DOP7574A
User Manual
De Dietrich DOP7574A
User Manual
-
 De Dietrich DOP7574G
User Manual
De Dietrich DOP7574G
User Manual
-
 De Dietrich DOP7574W
User Manual
De Dietrich DOP7574W
User Manual