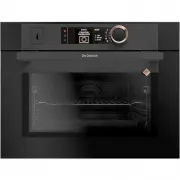
De Dietrich DOE7210BM - Manuals
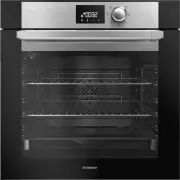
User Manual De Dietrich DOE7210BM

Summary
DEAR CUSTOMER, EN Discovering a De Dietrich product means experiencing the range of unique emotions. The attraction is immediate, from the moment you set eyes on the product. The sheer quality of the design shines through, thanks to the timeless style and outstanding finishes whichmake each componen...
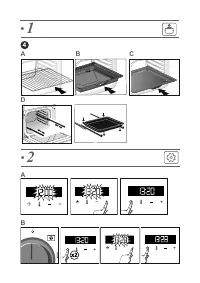
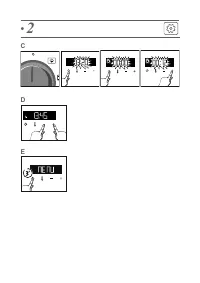
2 CONTENTS Description of the oven ......................................................................3 The control panel ..................................................................................3Accessories ...................................................................................
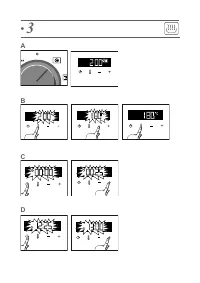
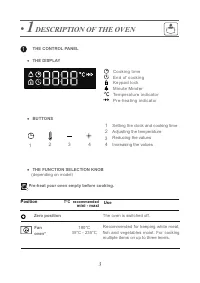
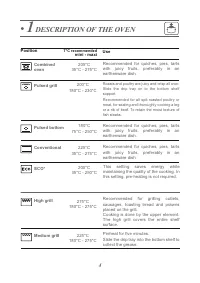
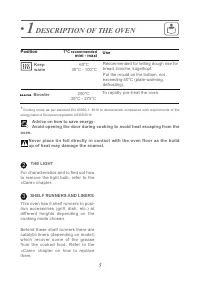
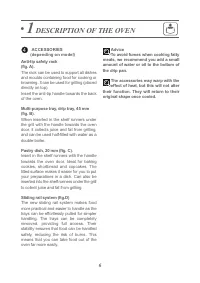
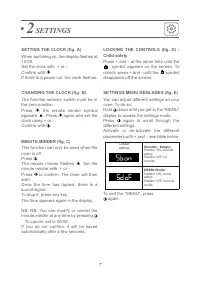
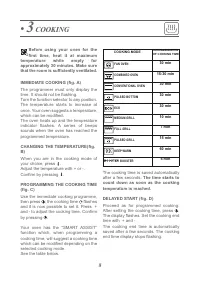
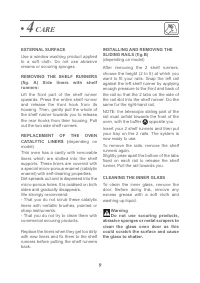
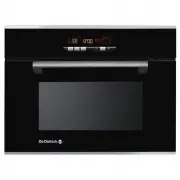
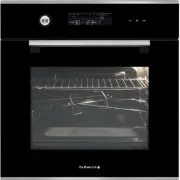
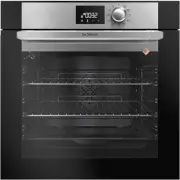
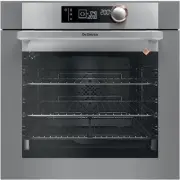
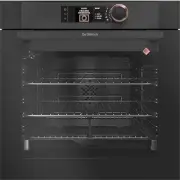
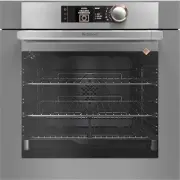
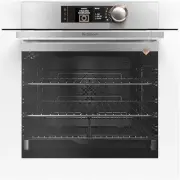
3 • 1 DESCRIPTION OF THE OVEN THE CONTROL PANEL THE DISPLAY THE FUNCTION SELECTION KNOB Fanoven* Recommended for keeping white meat,fish and vegetables moist. For cookingmultiple items on up to three levels. Zero position The oven is switched off. 180°C 35°C - 235°C Setting the clock and cooking tim...
De Dietrich Ovens Manuals
-
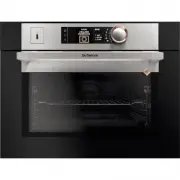
 De Dietrich DKR7580A
User Manual
De Dietrich DKR7580A
User Manual
-
 De Dietrich DKR7580G
User Manual
De Dietrich DKR7580G
User Manual
-
 De Dietrich DKR7580X
User Manual
De Dietrich DKR7580X
User Manual
-
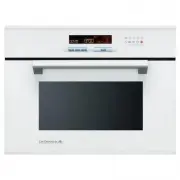
 De Dietrich DME 795 B
User Manual
De Dietrich DME 795 B
User Manual
-
 De Dietrich DME 795 W
User Manual
De Dietrich DME 795 W
User Manual
-
 De Dietrich DME 795 XS
User Manual
De Dietrich DME 795 XS
User Manual
-
 De Dietrich DOE 900 X
User Manual
De Dietrich DOE 900 X
User Manual
-
 De Dietrich DOP1145B
User Manual
De Dietrich DOP1145B
User Manual
-
 De Dietrich DOP1145X
User Manual
De Dietrich DOP1145X
User Manual
-
 De Dietrich DOP6557B
User Manual
De Dietrich DOP6557B
User Manual
-
 De Dietrich DOP6557DG
User Manual
De Dietrich DOP6557DG
User Manual
-
 De Dietrich DOP6557W
User Manual
De Dietrich DOP6557W
User Manual
-
 De Dietrich DOP6557X
User Manual
De Dietrich DOP6557X
User Manual
-
 De Dietrich DOP7200BM
User Manual
De Dietrich DOP7200BM
User Manual
-
 De Dietrich DOP7230X
User Manual
De Dietrich DOP7230X
User Manual
-
 De Dietrich DOP7350G
User Manual
De Dietrich DOP7350G
User Manual
-
 De Dietrich DOP7574A
User Manual
De Dietrich DOP7574A
User Manual
-
 De Dietrich DOP7574G
User Manual
De Dietrich DOP7574G
User Manual
-
 De Dietrich DOP7574W
User Manual
De Dietrich DOP7574W
User Manual
-
 De Dietrich DOP7574X
User Manual
De Dietrich DOP7574X
User Manual