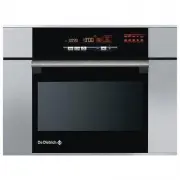
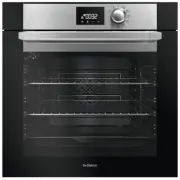
De Dietrich DME 795 B - Manuals
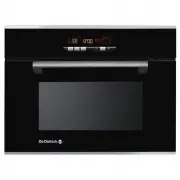
User Manual De Dietrich DME 795 B


Summary
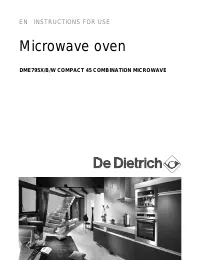
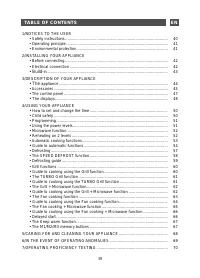
39 TABLE OF CONTENTS EN 1/NOTICES TO THE USER • Safety instructions ............................................................................................ 40• Operating principle ........................................................................................... 41• Environmental prote...
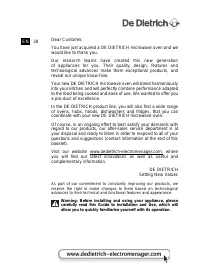
EN 1/NOTICES TO THE USER 40 Warning: Keep this user guide with your appliance. If the appliance is ever sold or transferred to another person, ensure that the new owner receives the user guide. Please become familiar with these recommendations before installing and using your oven. They were written...
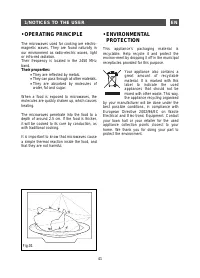
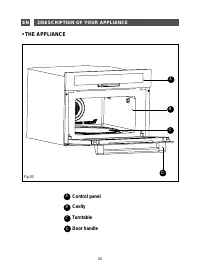
EN 41 • OPERATING PRINCIPLE The microwaves used for cooking are electro-magnetic waves. They are found naturally in our environment as radio-electric waves, light or infra-red radiation.Their frequency is located in the 2450 MHz band. Their properties: • They are reflected by metals. • They can pass...
De Dietrich Ovens Manuals
-
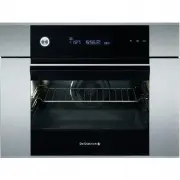
 De Dietrich DKR7580A
User Manual
De Dietrich DKR7580A
User Manual
-
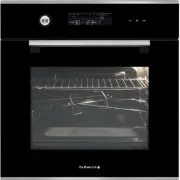
 De Dietrich DKR7580G
User Manual
De Dietrich DKR7580G
User Manual
-
 De Dietrich DKR7580X
User Manual
De Dietrich DKR7580X
User Manual
-
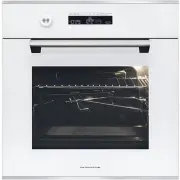
 De Dietrich DME 795 W
User Manual
De Dietrich DME 795 W
User Manual
-
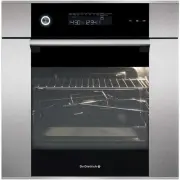
 De Dietrich DME 795 XS
User Manual
De Dietrich DME 795 XS
User Manual
-
 De Dietrich DOE 900 X
User Manual
De Dietrich DOE 900 X
User Manual
-
 De Dietrich DOE7210BM
User Manual
De Dietrich DOE7210BM
User Manual
-
 De Dietrich DOP1145B
User Manual
De Dietrich DOP1145B
User Manual
-
 De Dietrich DOP1145X
User Manual
De Dietrich DOP1145X
User Manual
-
 De Dietrich DOP6557B
User Manual
De Dietrich DOP6557B
User Manual
-
 De Dietrich DOP6557DG
User Manual
De Dietrich DOP6557DG
User Manual
-
 De Dietrich DOP6557W
User Manual
De Dietrich DOP6557W
User Manual
-
 De Dietrich DOP6557X
User Manual
De Dietrich DOP6557X
User Manual
-
 De Dietrich DOP7200BM
User Manual
De Dietrich DOP7200BM
User Manual
-
 De Dietrich DOP7230X
User Manual
De Dietrich DOP7230X
User Manual
-
 De Dietrich DOP7350G
User Manual
De Dietrich DOP7350G
User Manual
-
 De Dietrich DOP7574A
User Manual
De Dietrich DOP7574A
User Manual
-
 De Dietrich DOP7574G
User Manual
De Dietrich DOP7574G
User Manual
-
 De Dietrich DOP7574W
User Manual
De Dietrich DOP7574W
User Manual
-
 De Dietrich DOP7574X
User Manual
De Dietrich DOP7574X
User Manual