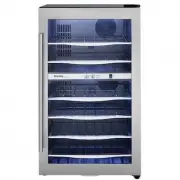
Danby DWC047D1BSSPR - Manuals
Danby DWC047D1BSSPR Wine Cooler – User Manual in PDF format online.
Manuals:
User Manual Danby DWC047D1BSSPR


Summary
CONTENTS / TABLE DES MATIÈRES WINE COOLEROwner’s Use and Care Guide..........................1 - 13 • Safety Instructions • Before Use • Installation Instructions • Features • Operating Instructions • Care and Maintenance • Troubleshooting • Warranty REFOIDISSEUR A VINGuide d’utiliser et soin propri...
1 Thank you for choosing Silhouette We know you’re excited. We are too! However, the more familiar you are with your new appliance, the better experience you willhave. We therefore strongly suggest that you read this Owner’s Manual before plugging in your new appliance . It contains important operat...
Important Safety Information READ AND FOLLOW ALL SAFETY INSTRUCTIONS ELECTRICAL REQUIREMENTS To avoid installation or operation diffi culties, read these instructions thoroughly. • This appliance must be grounded. Connect only to a properly grounded outlet. See “Grounding Instructions” section. • Do...
Danby Wine Coolers Manuals
-
 Danby DBC026A1BSSDB
User Manual
Danby DBC026A1BSSDB
User Manual
-
 Danby DBC045L1SS
User Manual
Danby DBC045L1SS
User Manual
-
 Danby DBC117A2BSSDD-6
User Manual
Danby DBC117A2BSSDD-6
User Manual
-
 Danby DWC040A3BSSDD
User Manual
Danby DWC040A3BSSDD
User Manual
-
 Danby DWC114BLSDD
User Manual
Danby DWC114BLSDD
User Manual
-
Danby DWC114BLSDD
Manual
-
 Danby DWC350BLP
User Manual
Danby DWC350BLP
User Manual
-
 Danby DWC94L1B
User Manual
Danby DWC94L1B
User Manual
-
 Danby SBC051D1BSS
User Manual
Danby SBC051D1BSS
User Manual
-
 Danby SPRBC056D1SS
User Manual
Danby SPRBC056D1SS
User Manual
-
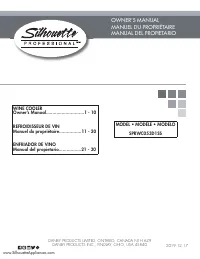 Danby SPRWC053D1SS
User Manual
Danby SPRWC053D1SS
User Manual
-
 Danby SPRWC140D1SS
User Manual
Danby SPRWC140D1SS
User Manual
-
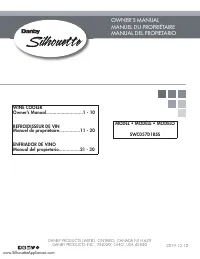 Danby SWC057D1BSS
User Manual
Danby SWC057D1BSS
User Manual