Breville BJB815BSS1BUS1 - Manuals
Breville BJB815BSS1BUS1 Blender – User Manual in PDF format online.
Manuals:
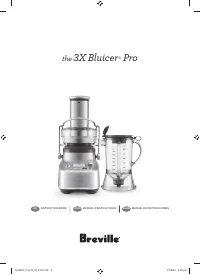
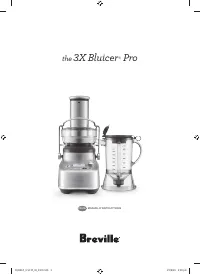
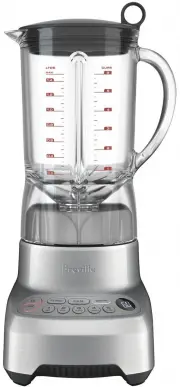
User Manual Breville BJB815BSS1BUS1


Summary
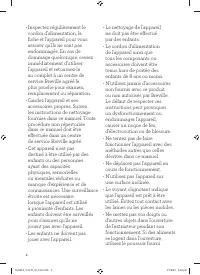
2 BREVILLE RECOMMENDS SAFETY FIRST At Breville we are very safety conscious. We design and manufacture consumer products with the safety of you, our valued customer, foremost in mind. In addition, we ask that you exercise a degree of care when using any electrical appliance and adhere to the followi...
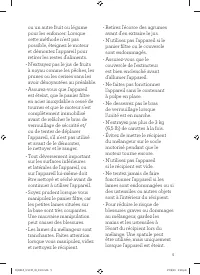
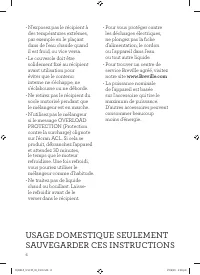
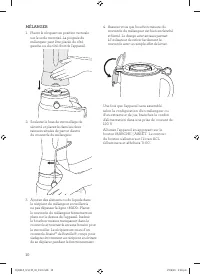
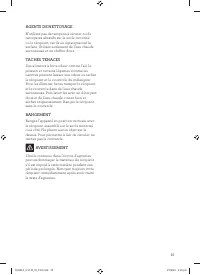
6 • Do not use blender while OVERLOAD PROTECTION is flashing on the LCD. If this occurs, unplug the blender and wait for 30 minutes until the motor has cooled. Once cooled, you will be able to use the blender as usual again. • Do not process hot or boiling liquids. Allow to cool before placing into ...
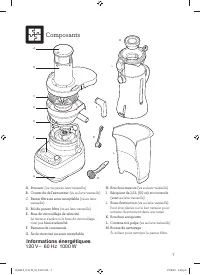
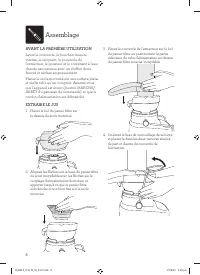
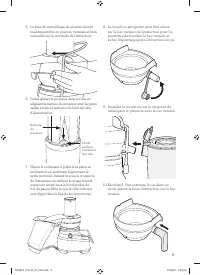
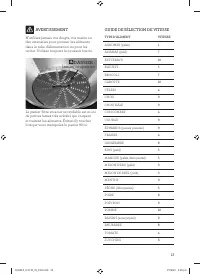
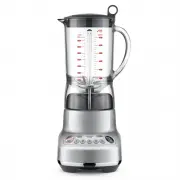
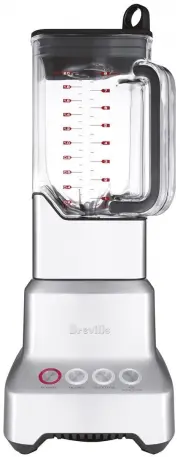
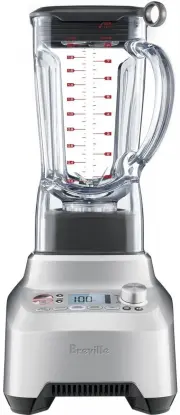
7 Components A I H J K L M B C D E F G A. Food pusher (not dishwasher safe) B. Juicer cover (dishwasher safe) C. Stainless steel filter basket (dishwasher safe) D. Filter bowl surround (dishwasher safe) E. Interlocking safety arm Stops motor base operating without cover locked into place. F. Control...
Breville Blenders Manuals
-
 Breville BBL002SIL0NUC1
User Manual
Breville BBL002SIL0NUC1
User Manual
-
 Breville BBL280WHT
User Manual
Breville BBL280WHT
User Manual
-
 Breville BBL290BKS
User Manual
Breville BBL290BKS
User Manual
-
 Breville BBL300
User Manual
Breville BBL300
User Manual
-
Breville BBL300
Manual
-
 Breville BBL380BKS
User Manual
Breville BBL380BKS
User Manual
-
 Breville BBL405
User Manual
Breville BBL405
User Manual
-
 Breville BBL605
User Manual
Breville BBL605
User Manual
-
Breville BBL605
Manual
-
 Breville BBL605BS
User Manual
Breville BBL605BS
User Manual
-
 Breville BBL605CB
User Manual
Breville BBL605CB
User Manual
-
 Breville BBL605SHB
User Manual
Breville BBL605SHB
User Manual
-
 Breville BBL620SIL
User Manual
Breville BBL620SIL
User Manual
-
 Breville BBL620SIL1AUS1
User Manual
Breville BBL620SIL1AUS1
User Manual
-
Breville BBL620SIL1AUS1
Manual
-
 Breville BBL800
User Manual
Breville BBL800
User Manual
-
Breville BBL800
Manual
-
 Breville BBL800BSS
User Manual
Breville BBL800BSS
User Manual
-
 Breville BBL910
User Manual
Breville BBL910
User Manual
-
Breville BBL910
Manual