Breville BES500BSS - Manuals
User Manual Breville BES500BSS


Summary
2 BREVILLE RECOMMENDS SAFETY FIRST At Breville we are very safety conscious. We design and manufacture consumer products with the safety of you, our valued customer, foremost in mind. In addition we ask that you exercise a degree of care when using any electrical appliance and adhere to the followin...
5 • Ensure the portafilter is firmly inserted and secured into the group head before starting the extraction. Never remove the portafilter during the brewing process. • Do not leave the product unattended when in use. • Do not touch hot surfaces. Allow the product to cool down before moving or clean...
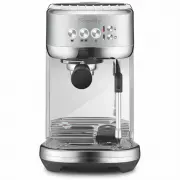
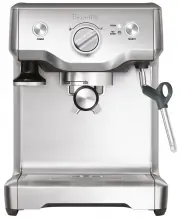
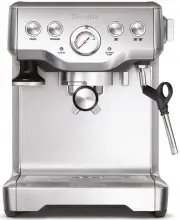
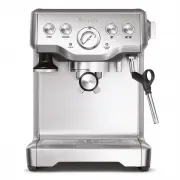
6 Components A. 1.9L removable water tank B. Control panel 1 CUP, 2 CUP and STEAM buttons With preset shot durations or programmable durations and volumes C. MILK TEMP settings Select from Warm, Ideal and Hot D. MILK FOAM settings Select from Low, Medium and High E. Group head F. 54mm stainless stee...
Breville Coffee Machines Manuals
-
 Breville BDC650BSS
User Manual
Breville BDC650BSS
User Manual
-
 Breville BEC200XW
User Manual
Breville BEC200XW
User Manual
-
 Breville BEC220BLK
User Manual
Breville BEC220BLK
User Manual
-
 Breville BEC500XT
User Manual
Breville BEC500XT
User Manual
-
 Breville BEP920BKS
User Manual
Breville BEP920BKS
User Manual
-
 Breville BEP920BSS
User Manual
Breville BEP920BSS
User Manual
-
 Breville BES250
User Manual
Breville BES250
User Manual
-
 Breville BES500SST
User Manual
Breville BES500SST
User Manual
-
 Breville BES810BSS
User Manual
Breville BES810BSS
User Manual
-
 Breville BES840
User Manual
Breville BES840
User Manual
-
Breville BES840
Manual
-
 Breville BES840BSS
User Manual
Breville BES840BSS
User Manual
-
 Breville BES870
User Manual
Breville BES870
User Manual
-
Breville BES870
Manual
-
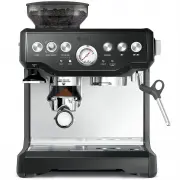 Breville BES870BKS
User Manual
Breville BES870BKS
User Manual
-
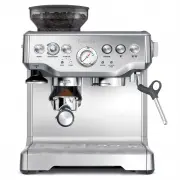 Breville BES870BSS
User Manual
Breville BES870BSS
User Manual
-
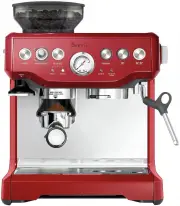 Breville BES870CRN
User Manual
Breville BES870CRN
User Manual
-
 Breville BES870XL
User Manual
Breville BES870XL
User Manual
-
Breville BES870XL
Manual
-
 Breville BES876BSS1BNA1
User Manual
Breville BES876BSS1BNA1
User Manual