Bosch WVH28441AU - Manuals
User Manual Bosch WVH28441AU


Summary
2 Your new washer dryer You have chosen a Bosch washer dryer. Please take a few minutes to read and become familiar with the advantages of your washer dryer. To meet the high quality demands required by Bosch, every washer dryer that leaves our factory is carefully checked to ensure that it function...
en 3 Contents en Instruction Manual and Installation Instructions 8 Intended use. . . . . . . . . . . . . . . . .4 ( Safety instructions . . . . . . . . . . .5 Electrical safety. . . . . . . . . . . . . . . . . . 5 Risk of injury . . . . . . . . . . . . . . . . . . . . 5 Safety for children . . . . ...
en Intended use 4 4 Customer service . . . . . . . . . . . 35 J Technical specifications . . . . . 35 [ Consumption values . . . . . . . . 36 5 Installation and connection . . . 37 Standard accessories . . . . . . . . . . . 37 Installation . . . . . . . . . . . . . . . . . . . . 37 Secure installati...
Bosch Washing Machines Manuals
-
 Bosch WAA 20263OE(Classixx 5)
User Manual
Bosch WAA 20263OE(Classixx 5)
User Manual
-
 Bosch WAA 2026SOE
User Manual
Bosch WAA 2026SOE
User Manual
-
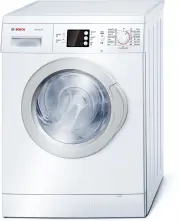 Bosch WAE22466AU
User Manual
Bosch WAE22466AU
User Manual
-
 Bosch WAK 20240OE
User Manual
Bosch WAK 20240OE
User Manual
-
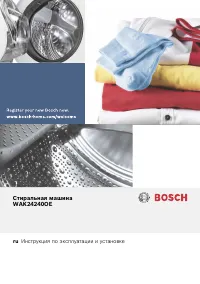 Bosch WAK 24240OE
User Manual
Bosch WAK 24240OE
User Manual
-
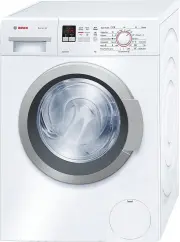 Bosch WAK24160AU
User Manual
Bosch WAK24160AU
User Manual
-
 Bosch WAK24161AU
User Manual
Bosch WAK24161AU
User Manual
-
 Bosch WAK24162AU
User Manual
Bosch WAK24162AU
User Manual
-
 Bosch WAN22120AU
User Manual
Bosch WAN22120AU
User Manual
-
 Bosch WAN24120AU
User Manual
Bosch WAN24120AU
User Manual
-
 Bosch WAN24121AU
User Manual
Bosch WAN24121AU
User Manual
-
 Bosch WAN24124AU
User Manual
Bosch WAN24124AU
User Manual
-
 Bosch WAP24160AU
User Manual
Bosch WAP24160AU
User Manual
-
 Bosch WAP28380AU
User Manual
Bosch WAP28380AU
User Manual
-
 Bosch WAP28482AU
User Manual
Bosch WAP28482AU
User Manual
-
 Bosch WAQ 2844XME
User Manual
Bosch WAQ 2844XME
User Manual
-
 Bosch WAS 20441OE
User Manual
Bosch WAS 20441OE
User Manual
-
 Bosch WAS 24441OE(Logixx 8)
User Manual
Bosch WAS 24441OE(Logixx 8)
User Manual
-
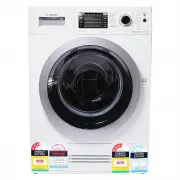
 Bosch WAS28440AU
User Manual
Bosch WAS28440AU
User Manual
-
 Bosch WAS28461AU
User Manual
Bosch WAS28461AU
User Manual