Beko CSA 24000 - Manuals
Beko CSA 24000 Refrigerator – User Manual in PDF format online.
Manuals:
User Manual Beko CSA 24000


Summary
Congratulations on your choice of a Quality Appliance, designed to give you many years of service. Safety first! Do not connect your appliance to the electricity supply until all packing and transit protectors have been removed. • LОaЯО tШ staЧН ПШr at ХОast 12 СШurs bОПШrО sаТtМСТЧР on, to allow co...
EN Instruction for use Electrical requirements Before inserting the plug into the wall socket make sure that the voltage and the frequency shown in the rating plate inside the appliance corresponds to your electricity supply. We recommend that this appliance is connected to the mains supply via a su...
EN Instruction for use 4. The appliance should be positioned on a smooth surface. The two front feet can be adjusted as required.To ensure that your appliance is standing upright adjust the two front feet by turning clockwise or anti-clockwise, until firm contact is secured with the floor. Correct a...
Beko Refrigerators Manuals
-
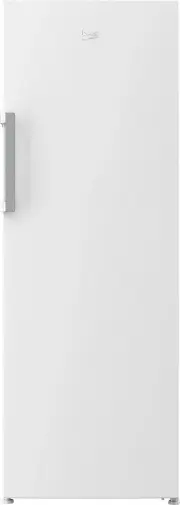 Beko BAF369W
User Manual
Beko BAF369W
User Manual
-
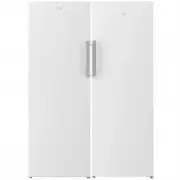 Beko BAF369WBVF290W
User Manual
Beko BAF369WBVF290W
User Manual
-
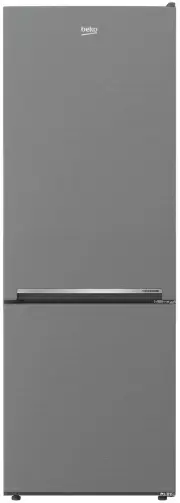 Beko BBM335PX
User Manual
Beko BBM335PX
User Manual
-
 Beko BBM335W
User Manual
Beko BBM335W
User Manual
-
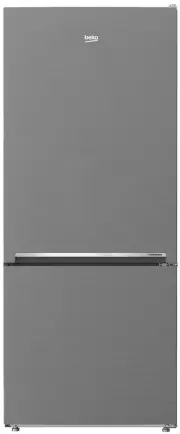 Beko BBM407PX
User Manual
Beko BBM407PX
User Manual
-
 Beko BBM450AN
User Manual
Beko BBM450AN
User Manual
-
 Beko BBM450W
User Manual
Beko BBM450W
User Manual
-
 Beko BBM450X
User Manual
Beko BBM450X
User Manual
-
 Beko BBM505X
User Manual
Beko BBM505X
User Manual
-
 Beko BCNE400I35ZS
User Manual
Beko BCNE400I35ZS
User Manual
-
 Beko BCSA2750
User Manual
Beko BCSA2750
User Manual
-
 Beko BCSA2750 TP
User Manual
Beko BCSA2750 TP
User Manual
-
 Beko BFD629DX
User Manual
Beko BFD629DX
User Manual
-
 Beko BFD629X
User Manual
Beko BFD629X
User Manual
-
 Beko BSB631DX
User Manual
Beko BSB631DX
User Manual
-
 Beko BSB641W
User Manual
Beko BSB641W
User Manual
-
 Beko BSB641X
User Manual
Beko BSB641X
User Manual
-
 Beko BSSA315K2S
User Manual
Beko BSSA315K2S
User Manual
-
 Beko BTM245PX
User Manual
Beko BTM245PX
User Manual
-
 Beko BTM245W
User Manual
Beko BTM245W
User Manual