Asko W4086P.W - Manuals
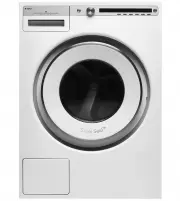
User Manual Asko W4086P.W


Summary
2 Safety precautions 3 Washing machine description 6 Dispenser tray 6 Before using the appliance for the fi rst time 7 Installation and connection 9 Tips before washing 13 Washing process, step by step (1 – 8) 15 System settings 27 Cleaning and maintenance 30 Errors – what to do? 34 Servicing 39 Tec...
3 GENERAL Please read the instruction manual and save it for future reference. • Please do not use the washing machine if you have not read and understood these instructions or use fi rst. • Failure to observe the instructions for use or inappropriate use of the washing machine may result in damage ...
4 • Bleaches that contain chlorine can be replaced with oxygen-based bleaches. Otherwise, a neutralization cycle should be performed by running the Cotton program at the highest temperature. For best results, use hydrogen peroxide or oxygen-based detergents. • Do not use colourants (dyes) or bleachi...
Asko Washing Machines Manuals
-
 Asko HDB1153T
User Manual
Asko HDB1153T
User Manual
-
 Asko HSS1053T
User Manual
Asko HSS1053T
User Manual
-
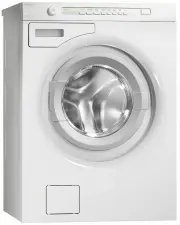
 Asko W2084C.W
User Manual
Asko W2084C.W
User Manual
-
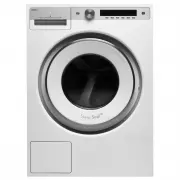
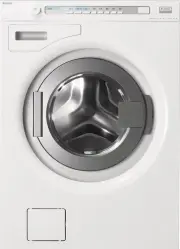
 Asko W4086C.W
User Manual
Asko W4086C.W
User Manual
-
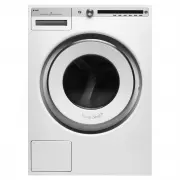
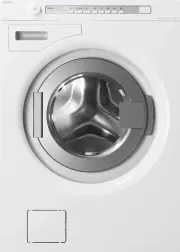
 Asko W4086PW
User Manual
Asko W4086PW
User Manual
-
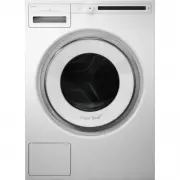
 Asko W4104C.W
User Manual
Asko W4104C.W
User Manual
-
 Asko W6088X
User Manual
Asko W6088X
User Manual
-
 Asko W6098P.W
Manual
Asko W6098P.W
Manual
-
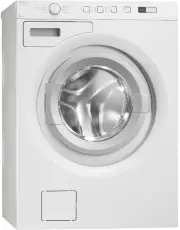 Asko W6564
User Manual
Asko W6564
User Manual
-
 Asko W6564 W
User Manual
Asko W6564 W
User Manual
-
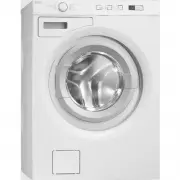
 Asko W6864
User Manual
Asko W6864
User Manual
-
 Asko W6884ECO
User Manual
Asko W6884ECO
User Manual
-
 Asko W8844XLECO
User Manual
Asko W8844XLECO
User Manual
-
 Asko WMC64P MARINE
User Manual
Asko WMC64P MARINE
User Manual
-
 Asko W2086C.W/3
Manual
Asko W2086C.W/3
Manual
-
 Asko W4096R.W/2
Manual
Asko W4096R.W/2
Manual
-
 Asko W2084.W/3
Manual
Asko W2084.W/3
Manual
-
 Asko W2114C.W
Manual
Asko W2114C.W
Manual
-
 Asko W4086C.T/3
Manual
Asko W4086C.T/3
Manual
-
 Asko W4114C.W/2
Manual
Asko W4114C.W/2
Manual