Artusi CAID646B - Manuals
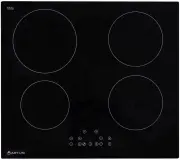
User Manual Artusi CAID646B


Summary
[ 键入文字 ] Content 1. Foreword ........................................................................................ 4 1.1 Safety Warnings ......................................................................... 4 1.2 Installation ......................................................................
4 1. Foreword 1.1 Safety Warnings Your safety is important to us. Please read this information before using your cooktop. 1.2 Installation 1.2.1 Electrical Shock Hazard Disconnect the appliance from the mains electricity supply before carrying out any work or maintenance on it. Connection to a g...
6 Care should be taken to avoid touching heating elements. Children less than 8 years of age shall be kept away unless continuously supervised. WARNING: Unattended cooking on a hob with fat or oil can be dangerous and may result in fire. NEVER try to extinguish a fire with water, but switch off th...
Artusi Hobs Manuals
-
 Artusi AGH30XFFD
User Manual
Artusi AGH30XFFD
User Manual
-
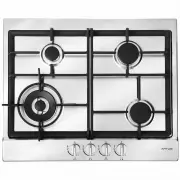
 Artusi AGH41B
User Manual
Artusi AGH41B
User Manual
-
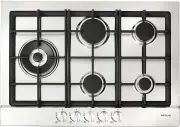
 Artusi AGH65MB
User Manual
Artusi AGH65MB
User Manual
-
 Artusi AGH65X
User Manual
Artusi AGH65X
User Manual
-
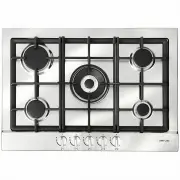
 Artusi AGH70XFFD
User Manual
Artusi AGH70XFFD
User Manual
-
 Artusi AGH71XFFD
User Manual
Artusi AGH71XFFD
User Manual
-
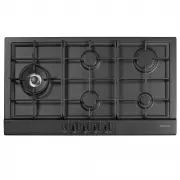
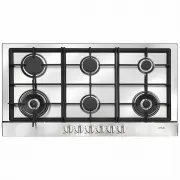 Artusi AGH90XFFD
User Manual
Artusi AGH90XFFD
User Manual
-
 Artusi AGH91MB
User Manual
Artusi AGH91MB
User Manual
-
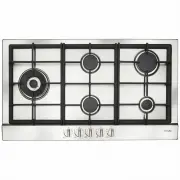 Artusi AGH91XFFD
User Manual
Artusi AGH91XFFD
User Manual
-
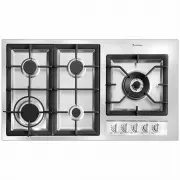 Artusi AGH92XFFD
User Manual
Artusi AGH92XFFD
User Manual
-
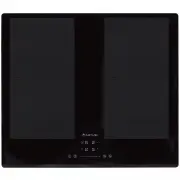 Artusi AID1000
User Manual
Artusi AID1000
User Manual
-
 Artusi AID2000
User Manual
Artusi AID2000
User Manual
-
 Artusi AID3000
User Manual
Artusi AID3000
User Manual
-
 Artusi AID32A
User Manual
Artusi AID32A
User Manual
-
 Artusi AID61
User Manual
Artusi AID61
User Manual
-
 Artusi AID784
User Manual
Artusi AID784
User Manual
-
 Artusi AID864DD
User Manual
Artusi AID864DD
User Manual
-
 Artusi CACC1A
User Manual
Artusi CACC1A
User Manual
-
 Artusi CACC90
User Manual
Artusi CACC90
User Manual
-
 Artusi CACC95
User Manual
Artusi CACC95
User Manual