Bosch HMT75G421R - User Manual
Bosch HMT75G421R Microwave – User Manual, read for free online in PDF format. We hope this helps you resolve any issues you may have. If you have further questions, please contact us through the contact form.
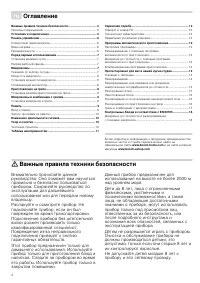
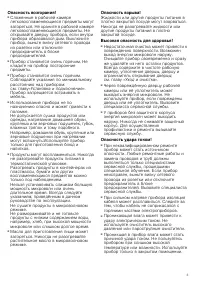

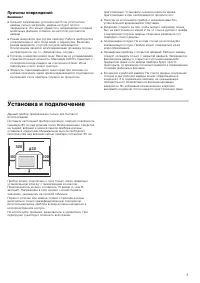
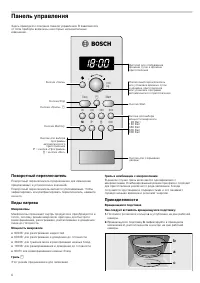
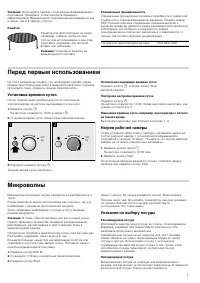
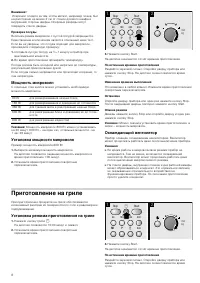
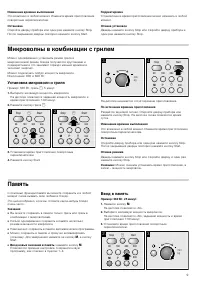

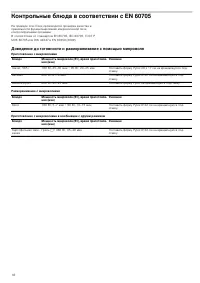
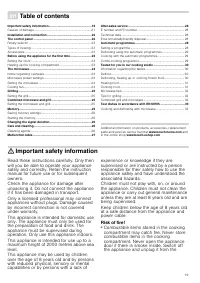
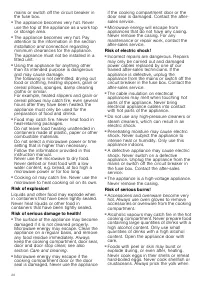
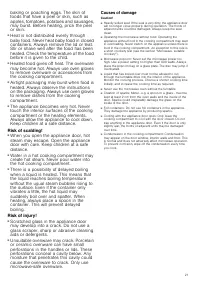
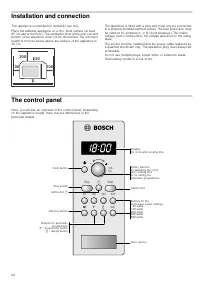
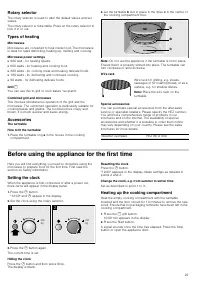
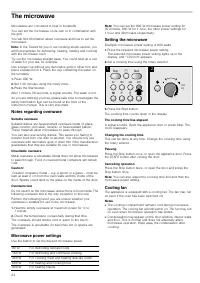
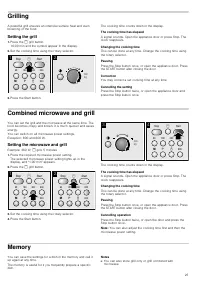

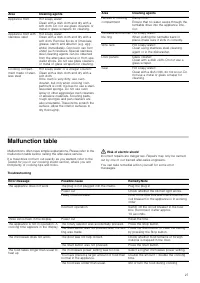

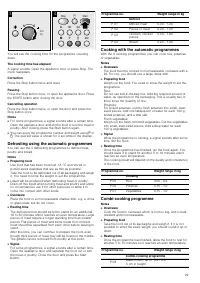

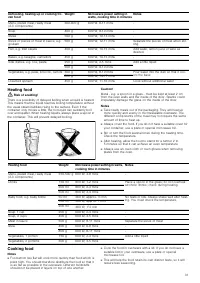
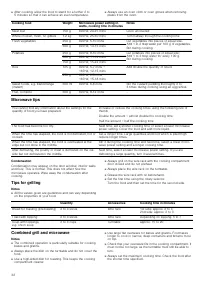
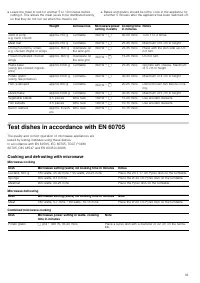


Table of Contents:
- Page 2 – Оглавление; Важные
- Page 5 – Установка
- Page 6 – Поворотный
- Page 8 – Приготовление
- Page 9 – Микроволны; Память; Ввод
- Page 10 – Изменение; Уход
- Page 12 – Программы
- Page 19 – Table of contents; Important safety information
- Page 20 – Installation and connection; Risk of serious damage to health!; Care and cleaning; Risk of electric shock!
- Page 21 – Causes of damage
- Page 23 – Before using the appliance for the first time; Setting the clock
- Page 24 – The microwave; Notes regarding ovenware
- Page 25 – Grilling; Setting the grill; Combined microwave and grill; Setting the microwave and grill; Memory
- Page 26 – Changing the signal duration; Cleaning agents
- Page 27 – Malfunction table
- Page 28 – E number and FD number; Technical data; Automatic programmes; Setting a programme
- Page 30 – Information regarding the tables
- Page 33 – Test dishes in accordance with EN 60705; Cooking and defrosting with microwave
[ru] Правила пользования .............................. 2
[en] Instruction manual .................................. 19
HMT75G421R HMT75G451R
Microwave
Микроволновая печь
"Loading the manual" means you need to wait until the file loads and becomes available for online reading. Some manuals are very large, and the time they take to appear depends on your internet speed.
Summary
2 î Оглавление [ru] Правила пользования Важные правила техники безопасности .................................... 2 Причины повреждений ........................................................................... 5 Установка и подключение ............................................................ 5 ...
5 Причины повреждений Внимание ! ■ Сильное загрязнение уплотнителей : Если уплотнитель дверцы сильно загрязнён , дверца не будет плотно закрываться . Это может привести к повреждению соседних мебельных фасадов . Следите за чистотой уплотнителя дверцы . ■ Режим микроволн при пустом приборе : Работа п...
6 Панель управления Здесь приводится описание панели управления . В зависимости от типа прибора возможны некоторые незначительные изменения . Поворотный переключатель Поворотный переключатель предназначен для изменения предлагаемых и установочных значений . Поворотный переключатель является утаплива...