Ikea FHGA5K 902-007-02- User Manual
Ikea FHGA5K 902-007-02– User Manual, read for free online in PDF format. We hope this helps you resolve any issues you may have. If you have further questions, please contact us through the contact form.


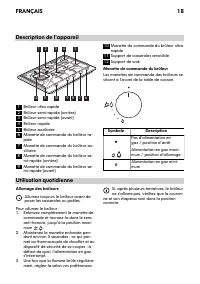
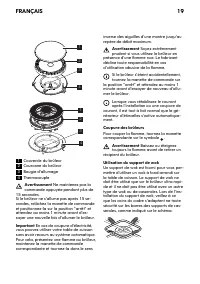
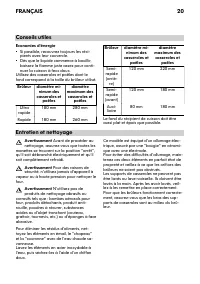
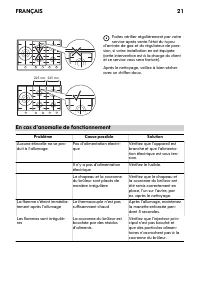
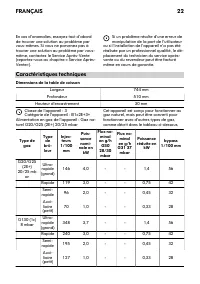
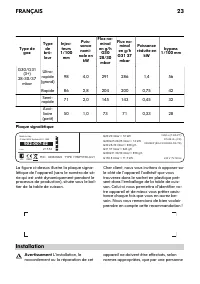
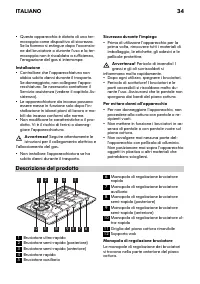
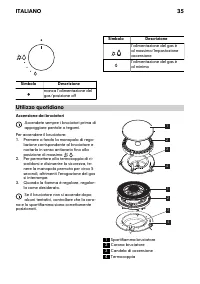
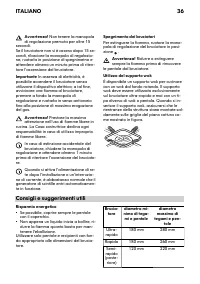
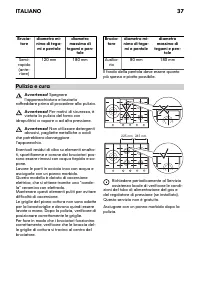
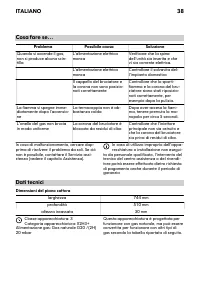
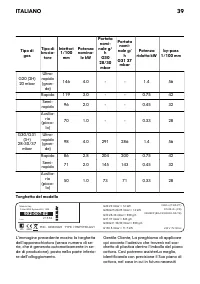
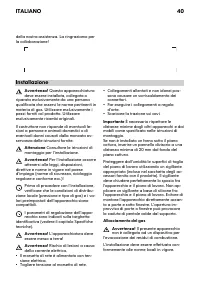
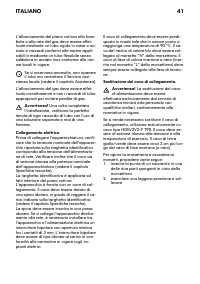


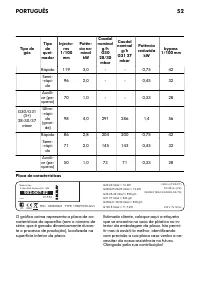


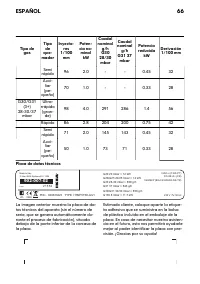


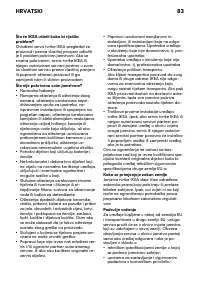

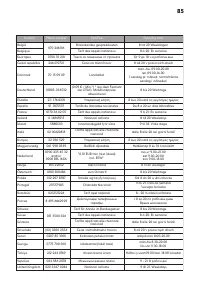


Table of Contents:
- Page 4 – Correct use; ENGLISH
- Page 5 – Product description; Burner control knob
- Page 6 – Daily use; Ignition of the burners
- Page 8 – What to do if...; Problem
- Page 9 – Technical data; Hob dimensions; Installation
- Page 12 – Adjusting flame level; Environment concerns; Packaging materials
- Page 16 – Avertissement; FRANÇAIS
- Page 18 – Description de l'appareil; Manette de commande du brûleur; Utilisation quotidienne; Allumage des brûleurs
- Page 21 – En cas d'anomalie de fonctionnement; Problème
- Page 26 – En matière de protection de l'environnement
- Page 33 – Impiego conforme allo scopo previsto; ITALIANO
- Page 34 – Descrizione del prodotto; Manopola di regolazione bruciatore
- Page 35 – Utilizzo quotidiano; Accensione dei bruciatori
- Page 38 – Cosa fare se...; Problema; Dati tecnici; Dimensioni del piano cottura
- Page 40 – Installazione; Attenzione
- Page 43 – Considerazioni ambientali; Materiali di imballaggio; GARANZIA IKEA; Validità della garanzia
- Page 46 – Advertência; PORTUGUÊS
- Page 48 – Utilização diária; Ligação dos queimadores
- Page 60 – Advertencia; ESPAÑOL
- Page 62 – Uso diario; Encendido de los quemadores
- Page 75 – Svakodnevna uporaba; Paljenje plamenika; HRVATSKI
FRAMTID
HGA5K
GB
FR
IT
PT
ES
HR
FR IT PT ES HR
"Loading the manual" means you need to wait until the file loads and becomes available for online reading. Some manuals are very large, and the time they take to appear depends on your internet speed.
Summary
Contents Safety information 4 Product description 5 Daily use 6 Helpful hints and tips 7 Care and cleaning 7 What to do if… 8 Technical data 9 Installation 9 Environment concerns 12 IKEA GUARANTEE 13 Subject to change without notice Safety information For your safety and correct operation of the app...
• Built-in appliances can only be used after they are built into suitable built-in units and work surfaces that meet standards. • Do not change the specifications or modi- fy this product. Risk of injury and damage to the appliance. Warning! Carefully obey the instructions for electrical and gas con...
Daily use Ignition of the burners Always ignite the burners before posi- tioning pots or pans. To ignite the burner: 1. Push the relevant control knob com- pletely in and turn it counter-clockwise to the maximum position marked . 2. Keep the knob pushed for about 5 sec; this will allow thermocouple ...