Honeywell HV-141 - User Manual
Honeywell HV-141 – User Manual, read for free online in PDF format. We hope this helps you resolve any issues you may have. If you have further questions, please contact us through the contact form.


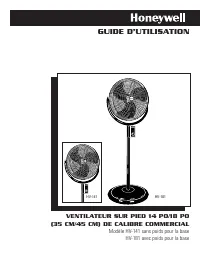
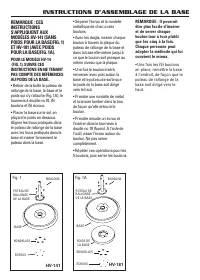


Table of Contents:
- Page 2 – SAFETY INSTRUCTIONS; • Do not use outdoors.
- Page 3 – BASE ASSEMBLY INSTRUCTIONS
- Page 4 – ASSEMBLY INSTRUCTIONS; Place the fan assembly; OPERATION
- Page 5 – ITEM
- Page 6 – . This 5 year limited; YEAR LIMITED WARRANTY
- Page 7 – GUIDE D’UTILISATION; VENTILATEUR SUR PIED 14 PO/18 PO; Modèle HV-141 sans poids pour la base
- Page 8 – INSTRUCTIONS DE SÉCURITÉ
- Page 9 – INSTRUCTIONS D’ASSEMBLAGE DE LA BASE
- Page 10 – INSTRUCTIONS D’ASSEMBLAGE; FONCTIONNEMENT
- Page 11 – numéro de boîte postale.; Base ronde
- Page 12 – GARANTIE LIMITÉE DE 5 ANS
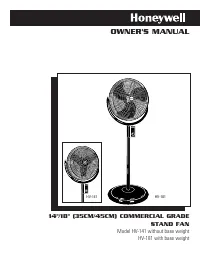
OWNER'S MANUAL
G
R A D
E
C
O
M
M
ER
C
I
A
L
COMMERCIAL GRADE
OFF
LOW
HIGH MED
14"/18" (35CM/45CM) COMMERCIAL GRADE
STAND FAN
Model HV-141 without base weight
HV-181 with base weight
HV-181
COMMERCIAL GRADE
OFF
LOW
HIGH MED
G
R A D E
C
O
M
M
ER
C
I
A
L
HV-141
"Loading the manual" means you need to wait until the file loads and becomes available for online reading. Some manuals are very large, and the time they take to appear depends on your internet speed.
Was this manual helpful?
About this manual
- Brand
- Honeywell
- Model
- HV-141
- Document type
- User Manual
- Language(s)
- English, French
- Pages
- 12
- File size
- 430 KB
- Format
Summary
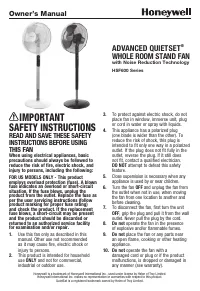
READ AND SAVE THESEIMPORTANT SAFETYINSTRUCTIONS BEFOREUSING THIS FAN. When using electricalappliances, basic safetyprecautions shouldalways be followed,including the following: • Use this fan only asdescribed in this manual.Other use notrecommended maycause fire, electric shockor injury. • High Velo...
BASE ASSEMBLY INSTRUCTIONS NOTE: THESEINSTRUCTIONS ARE FORMODEL HV-141 (NO BASEWEIGHT INCLUDED/FIG. 1)AND HV-181 (WITH BASEWEIGHT/FIG. 1A). IF YOU HAVE MODEL HV-141 (Fig.1), PLEASE FOLLOWTHESE INSTRUCTIONS BUTDISREGARD REFERENCESTO BASE WEIGHT. • Remove the base extensionpole, base with attachedbase...
• Place the metal standfan pole into the baseextension, lining up thegroove of the pole to thehole in the baseextension. • Push together until theholes (in the groove) lineup (Fig. 2). • I nsert and hand tighten the locking thumb screw. ➡ ➡ Fig. 2 ➡ ➡ Fig. 3 • Unscrew the control boxlocking knob fro...
Ask a question
Related manuals
Popular Honeywell Other
More Honeywell Other models
 Honeywell HSF600B User Manual
 Honeywell HT 900 User Manual
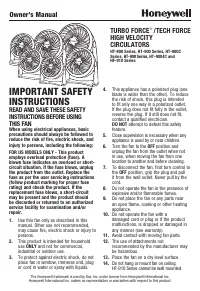 Honeywell HT908 User Manual
 Honeywell HTF210B User Manual
 Honeywell HUL520B Manual
 Honeywell HUL530 User Manual
 Honeywell HVC0001 User Manual
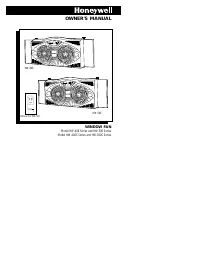 Honeywell HW-400C Series User Manual
 Honeywell hw400 Manual
 Honeywell HW1000i User Manual
 Honeywell HW3000 User Manual
 Honeywell HWM-330 Manual