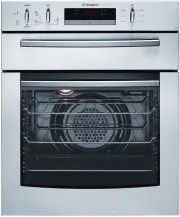
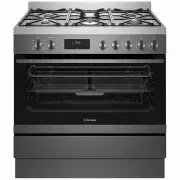
Westinghouse WFE9515SD - Manuals

User Manual Westinghouse WFE9515SD


Summary
3 IMpoRtANt SAfEty INStRUctIoNS 2 coNGRAtULAtIoNS Please read the user manual carefully and store in a handy place for later reference. The symbols you will see in this booklet have these meanings: WARNING WARNING This symbol indicates information concerning your personal safety. WARNING CAUTION Thi...
4 5 pRoDUct DEScRIptIoN IMpoRtANt SAfEty INStRUctIoNS WARNING WARNING Oven • During use the appliance becomes hot. Care should be taken to avoid touching the hot surfaces inside the oven. • Switch the appliance off at the isolating switch before removing the oven light glass for globe replacement. •...
6 7 INStALLAtIoN of thE AppLIANcE INStALLAtIoN of thE AppLIANcE Cabinet requirement Model WFE9515SD is designed to fit into a 900mm wide gap between standard kitchen cabinets. The appliance integrates with the kitchen cabinets by matching the height, depth and kick panel. The cooker may also be insta...
Westinghouse Ovens Manuals
-
 Westinghouse DSP635S
User Manual
Westinghouse DSP635S
User Manual
-
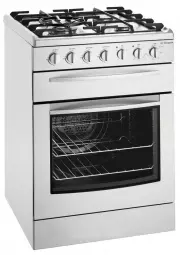
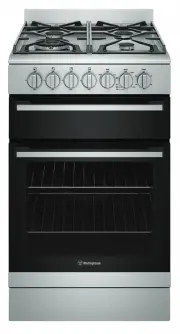
 Westinghouse GOR474SLPG
User Manual
Westinghouse GOR474SLPG
User Manual
-
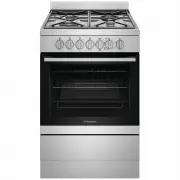
 Westinghouse GOR476S
User Manual
Westinghouse GOR476S
User Manual
-
 Westinghouse GOR476SLPG
User Manual
Westinghouse GOR476SLPG
User Manual
-
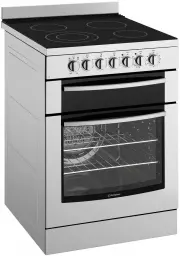
 Westinghouse GXR650WLPG
User Manual
Westinghouse GXR650WLPG
User Manual
-
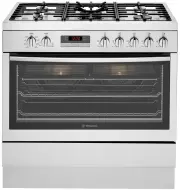
 Westinghouse PAK557W
User Manual
Westinghouse PAK557W
User Manual
-
 Westinghouse PDR790S
User Manual
Westinghouse PDR790S
User Manual
-
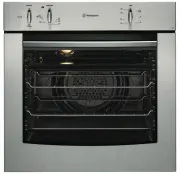
 Westinghouse PGR659S
User Manual
Westinghouse PGR659S
User Manual
-
 Westinghouse POR663S
User Manual
Westinghouse POR663S
User Manual
-
 Westinghouse POR667S
User Manual
Westinghouse POR667S
User Manual
-
 Westinghouse WFE512SC
User Manual
Westinghouse WFE512SC
User Manual
-
 Westinghouse WFE612SC
User Manual
Westinghouse WFE612SC
User Manual
-
 Westinghouse WFE614SC
User Manual
Westinghouse WFE614SC
User Manual
-
 Westinghouse WFE647SA
User Manual
Westinghouse WFE647SA
User Manual
-
 Westinghouse WFE914SA
User Manual
Westinghouse WFE914SA
User Manual
-
 Westinghouse WFE914SB
User Manual
Westinghouse WFE914SB
User Manual
-
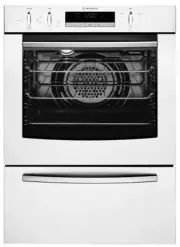
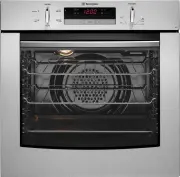
 Westinghouse WFE915SD
User Manual
Westinghouse WFE915SD
User Manual
-
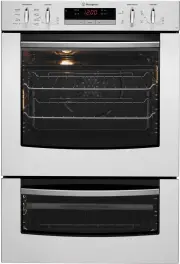
 Westinghouse WFE916DSD
User Manual
Westinghouse WFE916DSD
User Manual
-
 Westinghouse WFE916SA
User Manual
Westinghouse WFE916SA
User Manual
-
 Westinghouse WFE946SA
User Manual
Westinghouse WFE946SA
User Manual