Westinghouse PHN944DU - Manuals
User Manual Westinghouse PHN944DU


Summary
Electrolux. Thinking of you. Westinghouse. We are part of the Electrolux family. Share more of our thinking at www.electrolux.com CONTENTS Safety information 2 Installation instructions 4 Product description 6 Operating instructions 8 Helpful hints and tips 10 Care and cleaning 11 What to do if… 12 ...
INSTALLATION INSTRUCTIONS Warning! Refer to "Safety information" chapter. Before the installation , note down the serial number (Ser. Nr.) from therating plate. The rating plate of the appliance is on its lower casing. PNC: 949163124 Made in China Model: PHN644DUAPP NO.: 55GADD5AU AU APP NO....
min. 38 mm min. 5 mm If you use a protection box (the addi-tional accessory 1) ), the front airflow space of 5 mm and protective floor di-rectly below the appliance are not nec-essary.You can not use the protection box ifyou install the appliance above anoven. PRODUCT DESCRIPTION GENERAL OVERVIEW PH...
Westinghouse Hobs Manuals
-
 Westinghouse GHP16S
User Manual
Westinghouse GHP16S
User Manual
-
Westinghouse GHP16S
Manual
-
 Westinghouse GHR12S
User Manual
Westinghouse GHR12S
User Manual
-
 Westinghouse GHR12W
User Manual
Westinghouse GHR12W
User Manual
-
 Westinghouse GHR17S
User Manual
Westinghouse GHR17S
User Manual
-
 Westinghouse GHR17W
User Manual
Westinghouse GHR17W
User Manual
-
 Westinghouse GHR765S
User Manual
Westinghouse GHR765S
User Manual
-
 Westinghouse GHR775S
User Manual
Westinghouse GHR775S
User Manual
-
 Westinghouse GHR95W
User Manual
Westinghouse GHR95W
User Manual
-
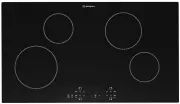
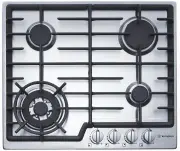
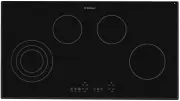
 Westinghouse PHN644DU
User Manual
Westinghouse PHN644DU
User Manual
-
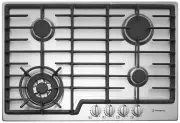
 Westinghouse PHN668U
User Manual
Westinghouse PHN668U
User Manual
-
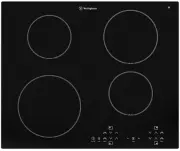
 Westinghouse PHN798U
User Manual
Westinghouse PHN798U
User Manual
-
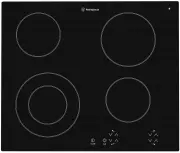
 Westinghouse PHR285S
User Manual
Westinghouse PHR285S
User Manual
-
 Westinghouse WHC322BC
User Manual
Westinghouse WHC322BC
User Manual
-
 Westinghouse WHC633BD
User Manual
Westinghouse WHC633BD
User Manual
-
 Westinghouse WHC643BD
User Manual
Westinghouse WHC643BD
User Manual
-
 Westinghouse WHC933BD
User Manual
Westinghouse WHC933BD
User Manual
-
 Westinghouse WHC943BD
User Manual
Westinghouse WHC943BD
User Manual
-
 Westinghouse WHEHP01KPK
User Manual
Westinghouse WHEHP01KPK
User Manual
-
 Westinghouse WHEHP02KPK
User Manual
Westinghouse WHEHP02KPK
User Manual