Viking RVSOE330SB - Manuals
Viking RVSOE330SB Oven – User Manual in PDF format online.
Manuals:
User Manual Viking RVSOE330SB


Summary
Your purchase of this product attests to the importance you place upon the quality and performance of the major appliances you use.With minimal care, as outlined in this guide, this product is designed to provide you with years of dependable service. Please take thefew minutes necessary to learn the...
Getting Started Warnings & Safety ____________________________________________________________________________4Before Using Oven ____________________________________________________________________________8 Product Controls Setting the Clock ______________________________________________________...
4 Warnings & Safety Warning and Important Safety Instructions appearing in this manual are not meant to cover all possible conditions and situations that may occur. Common sense, caution, and care must beexercised when installing, maintaining, or operating the appliance. ALWAYS contact the manuf...
Viking Ovens Manuals
-
 Viking EVSOF7301SS
User Manual
Viking EVSOF7301SS
User Manual
-
Viking RVDOE330SS
User Manual
-
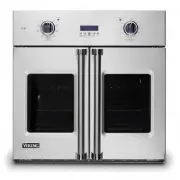
 Viking RVSOE330SS
User Manual
Viking RVSOE330SS
User Manual
-
Viking RVSOE330WH
User Manual
-
 Viking VDOE130SS
User Manual
Viking VDOE130SS
User Manual
-
Viking VDOE527SS
User Manual
-
Viking VDOE527WH
User Manual
-
Viking VDOE530SS
User Manual
-
Viking VDOE530WH
User Manual
-
Viking VDOF7301CS
User Manual
-
Viking VDOF7301SB
User Manual
-
Viking VDOF7301SS
User Manual
-
Viking VDOF7301WH
User Manual
-
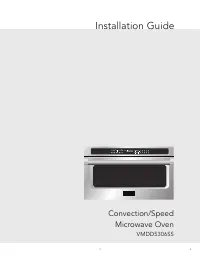 Viking VMDD5306SS
User Manual
Viking VMDD5306SS
User Manual
-
Viking VSOE130SB
User Manual
-
Viking VSOE130SS
User Manual
-
Viking VSOE130WH
User Manual
-
Viking VSOE527SS
User Manual
-
Viking VSOE527WH
User Manual
-
Viking VSOE530SS
User Manual