Summit Appliance BIM26H34 - Manuals
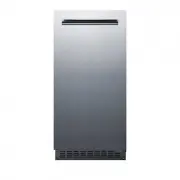
User Manual Summit Appliance BIM26H34


Summary
IMPORTANT SAFETY INSTRUCTIONS DANGER – Risk of fire or explosion. FLAMMABLE REFRIGERANT USED. Do not use mechanical devices to defrost the refrigerator. Do not puncture refrigerant tubing. DANGER – Risk of fire or explosion. FLAMMABLE REFRIGERANT USED. To be repaired only by trained service personne...
OTHER PRECAUTIONS • To ensure proper ventilation for the appliance, keep obstructions away from the front of the unit. • Keep fingers out of the “pinch point” areas. Clearance between the door and cabinet are small. Be careful closing the door when children are in the area. • Do not touch the evapor...
TABLE OF CONTENTS Product Overview and Specs ........................................................................... 1 - 2 Installation Before Using Your Ice Maker ...................................................................................................... 3 Installing the Ice Maker .....
Summit Appliance Ice Makers Manuals
-
 Summit Appliance AIWD160FLTR
User Manual
Summit Appliance AIWD160FLTR
User Manual
-
 Summit Appliance AIWD450FLTR
User Manual
Summit Appliance AIWD450FLTR
User Manual
-
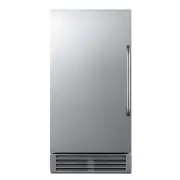
 Summit Appliance BIM100ADA
User Manual
Summit Appliance BIM100ADA
User Manual
-
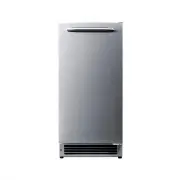
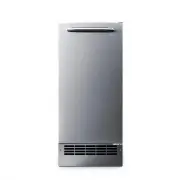
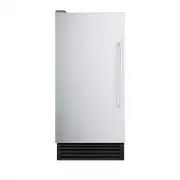
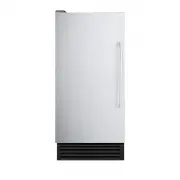
 Summit Appliance BIM26H32
User Manual
Summit Appliance BIM26H32
User Manual
-
 Summit Appliance BIM271OS
User Manual
Summit Appliance BIM271OS
User Manual
-
 Summit Appliance BIM27OSADA
User Manual
Summit Appliance BIM27OSADA
User Manual
-
 Summit Appliance BIM44G
User Manual
Summit Appliance BIM44G
User Manual
-
 Summit Appliance BIM44GADA
User Manual
Summit Appliance BIM44GADA
User Manual
-
 Summit Appliance BIM44GCSS
User Manual
Summit Appliance BIM44GCSS
User Manual
-
 Summit Appliance BIM44GCSSADA
User Manual
Summit Appliance BIM44GCSSADA
User Manual
-
 Summit Appliance BIM44GCSSADAE
User Manual
Summit Appliance BIM44GCSSADAE
User Manual
-
 Summit Appliance BIM44GIF
User Manual
Summit Appliance BIM44GIF
User Manual
-
 Summit Appliance BIM44GIFADA
User Manual
Summit Appliance BIM44GIFADA
User Manual
-
 Summit Appliance BIM44GIFADAE
User Manual
Summit Appliance BIM44GIFADAE
User Manual
-
 Summit Appliance BIM44GIFE
User Manual
Summit Appliance BIM44GIFE
User Manual
-
 Summit Appliance BIM44GSS
User Manual
Summit Appliance BIM44GSS
User Manual
-
 Summit Appliance BIM47OSADA
User Manual
Summit Appliance BIM47OSADA
User Manual
-
 Summit Appliance BIM47OSADAE
User Manual
Summit Appliance BIM47OSADAE
User Manual
-
 Summit Appliance BIM47OSE
User Manual
Summit Appliance BIM47OSE
User Manual
-
 Summit Appliance BIM68OSPUMP
User Manual
Summit Appliance BIM68OSPUMP
User Manual