Smeg ECF02PKUS - Manuals
Smeg ECF02PKUS Coffee Machine – User Manual in PDF format online.
Manuals:
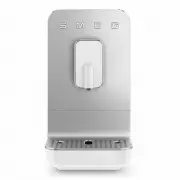
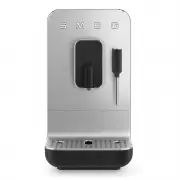
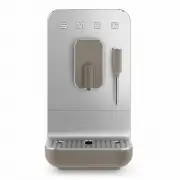
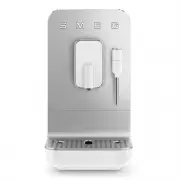
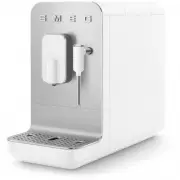
User Manual Smeg ECF02PKUS


Summary
Il costruttore si riserva di apportare senza preavviso tutte le modifiche che riterrà utili al miglioramento dei propri prodotti. Le illustrazioni e le descrizioni contenute in questo manuale non sono quindi impegnative ed hanno solo valore indicativo. The manufacturer reserves the right to make any...
EN - 1 EN 1 Warnings This user manual is an integral part of the appliance and must therefore be kept in its entirety and on-hand for the whole working life of the appliance. 1.1 Description for use • The appliance can be used to prepare espresso and cappuccino coffee using ground coffee or coffee p...
EN - 3 EN 1.4 Manufacturer’s liability The manufacturer declines all liability for injury/damage to persons and objects due to: • use of the appliance different from that envisioned; • user manual has not been read; • tampering with individual parts of the appliance; • use of non-original spare part...
Smeg Coffee Machines Manuals
-
 Smeg BCC01BLMAU
User Manual
Smeg BCC01BLMAU
User Manual
-
 Smeg BCC01RDMAU
User Manual
Smeg BCC01RDMAU
User Manual
-
 Smeg BCC01TPMAU
User Manual
Smeg BCC01TPMAU
User Manual
-
 Smeg BCC01WHMAU
User Manual
Smeg BCC01WHMAU
User Manual
-
 Smeg BCC02BLMAU
User Manual
Smeg BCC02BLMAU
User Manual
-
 Smeg BCC02FBMAU
User Manual
Smeg BCC02FBMAU
User Manual
-
 Smeg BCC02RDMAU
User Manual
Smeg BCC02RDMAU
User Manual
-
 Smeg BCC02TPMAU
User Manual
Smeg BCC02TPMAU
User Manual
-
 Smeg BCC02WHMAU
User Manual
Smeg BCC02WHMAU
User Manual
-
 Smeg BCC02WHMEU
User Manual
Smeg BCC02WHMEU
User Manual
-
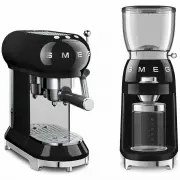 Smeg BFCOFFEEPACK
User Manual
Smeg BFCOFFEEPACK
User Manual
-
 Smeg CMS4104G
User Manual
Smeg CMS4104G
User Manual
-
 Smeg CMS8451A
Manual
Smeg CMS8451A
Manual
-
 Smeg CMS8451P
Manual
Smeg CMS8451P
Manual
-
 Smeg CMSC45NE
Manual
Smeg CMSC45NE
Manual
-
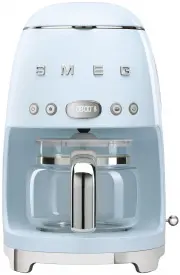
 Smeg DCF02BLAU
User Manual
Smeg DCF02BLAU
User Manual
-
 Smeg DCF02BLUS
User Manual
Smeg DCF02BLUS
User Manual
-
 Smeg DCF02CRAU
User Manual
Smeg DCF02CRAU
User Manual
-
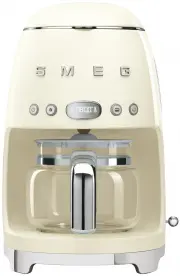
Smeg DCF02CRUS
User Manual
-
 Smeg DCF02PBAU
User Manual
Smeg DCF02PBAU
User Manual