Smeg DWAFI6314-2 - Manuals
User Manual Smeg DWAFI6314-2


Summary
Safety instructions 2 1. Safety and operating instructions THIS MANUAL FORMS AN INTEGRAL PART OF THE APPLIANCE: IT MUST ALW AYS BE KEPT INTACT TOGETHER W ITH THE DISHW ASHER. BEFORE USING THE APPLIANCE, CAREFULLY READ ALL THE INSTRUCTIONS CONTAINED IN THIS MANUAL. INSTALLATION MUST BE PERFORMED BY A...
Contents 3 WARNING: SOME DISHW ASHER DETERGENTS ARE STRONGLY ALKALINE. THEY CAN BE EXTREMELY DANGEROUS IF SW ALLOW ED. AVOID CONTACT W ITH THE SKIN AND EYES AND KEEP CHILDREN AW AY FROM THE DISHW ASHER W HEN THE DOOR IS OPEN. CHECK THAT THE DETERGENT RECEPTACLE IS EMPT Y AFTER COMPLETION OF THE W AS...
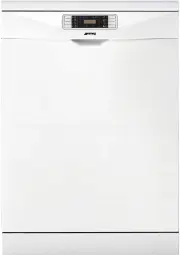
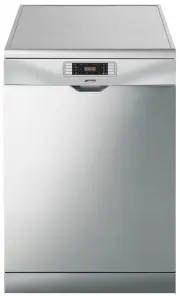
User instructions 5 TECHNIC AL D ATA Width 597 599 mm Depth measured flush w ith the outer edge of the control panel Free standing: 627/675 mm Semi-integrated: 584/630 mm Height (depending on models) Free standing: from 885 mm to 905 mm Semi-integrated: from 820 mm to 890 mm Capacity 14 Standard p...
Smeg Dishwashers Manuals
-
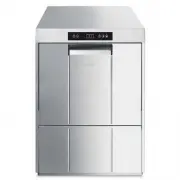 Smeg CW511MDA-2
User Manual
Smeg CW511MDA-2
User Manual
-
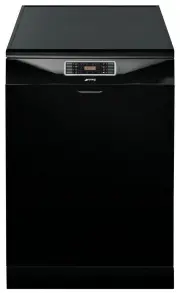 Smeg DWA157B
User Manual
Smeg DWA157B
User Manual
-
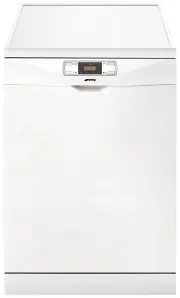 Smeg DWA314W
User Manual
Smeg DWA314W
User Manual
-
 Smeg DWA315B
User Manual
Smeg DWA315B
User Manual
-
 Smeg DWA315W
User Manual
Smeg DWA315W
User Manual
-
 Smeg DWA315X
User Manual
Smeg DWA315X
User Manual
-
 Smeg DWA4510X
User Manual
Smeg DWA4510X
User Manual
-
 Smeg DWA4510X2
User Manual
Smeg DWA4510X2
User Manual
-
 Smeg DWA615DB3
User Manual
Smeg DWA615DB3
User Manual
-
 Smeg DWA615DX3
User Manual
Smeg DWA615DX3
User Manual
-
 Smeg DWA6214B2
User Manual
Smeg DWA6214B2
User Manual
-
 Smeg DWA6314B2
User Manual
Smeg DWA6314B2
User Manual
-
 Smeg DWA6314W2
User Manual
Smeg DWA6314W2
User Manual
-
 Smeg DWA6314X2
User Manual
Smeg DWA6314X2
User Manual
-
 Smeg DWA6315W
User Manual
Smeg DWA6315W
User Manual
-
 Smeg DWA6315W2
User Manual
Smeg DWA6315W2
User Manual
-
 Smeg DWA6315W3
User Manual
Smeg DWA6315W3
User Manual
-
 Smeg DWA6315X3
User Manual
Smeg DWA6315X3
User Manual
-
 Smeg DWA6D15X
User Manual
Smeg DWA6D15X
User Manual
-
 Smeg DWAFI152T
User Manual
Smeg DWAFI152T
User Manual