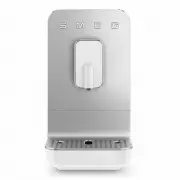
Smeg DCF02BLAU - Manuals

User Manual Smeg DCF02BLAU


Summary
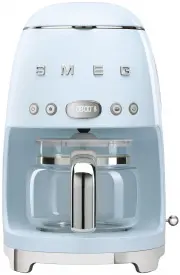
Instructions 4 1 Instructions 1.1 Introduction Key information for the user: 1.2 This user manual This user manual is an integral part of the appliance and must therefore be kept in its entirety and in an accessible place for the whole working life of the appliance. 1.3 Intended use The appliance ca...
Instructions 5 ITENEN • Never submerge the appliance in water.• Plug into an earthed 3-pin socket.• Do not remove the earth pin.• Do not use an adapter.• Do not use an extension cord.• Failure to observe these warnings can lead to fire, electrocution or even death. • This appliance is intended for h...
Instructions 7 ITENEN 1.5 Manufacturer liability The manufacturer shall not be liable for injuries or property damage caused by:• Use of the appliance other than that specified • Failure to read the user manual• Tampering with any part of the appliance • Use of non-original spare parts• Failure to o...
Smeg Coffee Machines Manuals
-
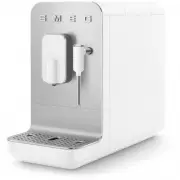
 Smeg BCC01BLMAU
User Manual
Smeg BCC01BLMAU
User Manual
-
 Smeg BCC01RDMAU
User Manual
Smeg BCC01RDMAU
User Manual
-
 Smeg BCC01TPMAU
User Manual
Smeg BCC01TPMAU
User Manual
-
 Smeg BCC01WHMAU
User Manual
Smeg BCC01WHMAU
User Manual
-
 Smeg BCC02BLMAU
User Manual
Smeg BCC02BLMAU
User Manual
-
 Smeg BCC02FBMAU
User Manual
Smeg BCC02FBMAU
User Manual
-
 Smeg BCC02RDMAU
User Manual
Smeg BCC02RDMAU
User Manual
-
 Smeg BCC02TPMAU
User Manual
Smeg BCC02TPMAU
User Manual
-
 Smeg BCC02WHMAU
User Manual
Smeg BCC02WHMAU
User Manual
-
 Smeg BCC02WHMEU
User Manual
Smeg BCC02WHMEU
User Manual
-
 Smeg BFCOFFEEPACK
User Manual
Smeg BFCOFFEEPACK
User Manual
-
 Smeg CMS4104G
User Manual
Smeg CMS4104G
User Manual
-
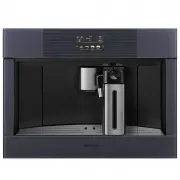
 Smeg CMS8451A
Manual
Smeg CMS8451A
Manual
-
 Smeg CMS8451P
Manual
Smeg CMS8451P
Manual
-
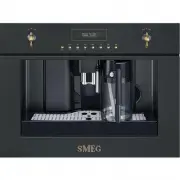
 Smeg CMSC45NE
Manual
Smeg CMSC45NE
Manual
-
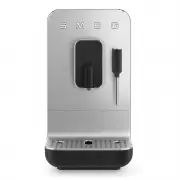
 Smeg DCF02BLUS
User Manual
Smeg DCF02BLUS
User Manual
-
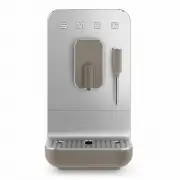
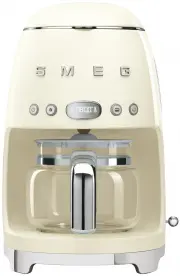 Smeg DCF02CRAU
User Manual
Smeg DCF02CRAU
User Manual
-
Smeg DCF02CRUS
User Manual
-
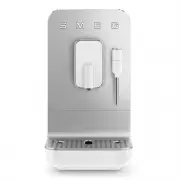
 Smeg DCF02PBAU
User Manual
Smeg DCF02PBAU
User Manual
-
Smeg DCF02PBUS
User Manual