Smeg CMSC45NE - Manuals
Smeg CMSC45NE Coffee Machine – Manual in PDF format online.
Manuals:
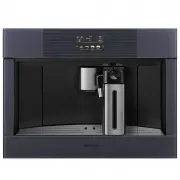
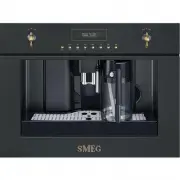
Manual Smeg CMSC45NE


Summary
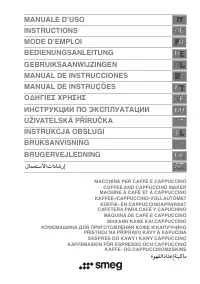
6 INDEX INTRODUCTION .........................7 Symbols used in these instructions ..........7Letters in brackets .....................................7Troubleshooting and repairs ......................7 SAFETY ...................................7 Fundamental safety warnings ....................7Des...
INTRODUCTION Thank you for choosing the automatic coffee andcappuccino maker. We hope you enjoy using your new appliance. Take a few minutes to read these instructions. This will avoid all risks and damage to the ma-chine. Symbols used in theseinstructions Important warnings are identified by these ...
8 Important! Do not grasp the coffee maker when it is out of the cabinet. Do not rest reci-pients containing liquids or inflammable or cor-rosive materials on top of the appliance. Place theaccessories required to prepare the coffee (themeasure for example) in the special holder. Donot rest large ob...
Smeg Coffee Machines Manuals
-
 Smeg BCC01BLMAU
User Manual
Smeg BCC01BLMAU
User Manual
-
 Smeg BCC01RDMAU
User Manual
Smeg BCC01RDMAU
User Manual
-
 Smeg BCC01TPMAU
User Manual
Smeg BCC01TPMAU
User Manual
-
 Smeg BCC01WHMAU
User Manual
Smeg BCC01WHMAU
User Manual
-
 Smeg BCC02BLMAU
User Manual
Smeg BCC02BLMAU
User Manual
-
 Smeg BCC02FBMAU
User Manual
Smeg BCC02FBMAU
User Manual
-
 Smeg BCC02RDMAU
User Manual
Smeg BCC02RDMAU
User Manual
-
 Smeg BCC02TPMAU
User Manual
Smeg BCC02TPMAU
User Manual
-
 Smeg BCC02WHMAU
User Manual
Smeg BCC02WHMAU
User Manual
-
 Smeg BCC02WHMEU
User Manual
Smeg BCC02WHMEU
User Manual
-
 Smeg BFCOFFEEPACK
User Manual
Smeg BFCOFFEEPACK
User Manual
-
 Smeg CMS4104G
User Manual
Smeg CMS4104G
User Manual
-
 Smeg CMS8451A
Manual
Smeg CMS8451A
Manual
-
 Smeg CMS8451P
Manual
Smeg CMS8451P
Manual
-
 Smeg DCF02BLAU
User Manual
Smeg DCF02BLAU
User Manual
-
 Smeg DCF02BLUS
User Manual
Smeg DCF02BLUS
User Manual
-
 Smeg DCF02CRAU
User Manual
Smeg DCF02CRAU
User Manual
-
Smeg DCF02CRUS
User Manual
-
 Smeg DCF02PBAU
User Manual
Smeg DCF02PBAU
User Manual
-
Smeg DCF02PBUS
User Manual