Smeg CMS4104G - Manuals
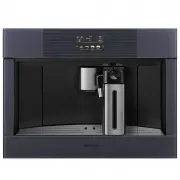
User Manual Smeg CMS4104G


Summary
7 CONTENTS INTRODUCTION ..................................................................... 8 Symbols used in these instructions ................................ 8Letters in brackets .......................................................... 8Troubleshooting and repairs ..............................
8 INTRODUCTION Symbol used in these Instructions Important warnings are identified by these symbols. Failure to observe the Instructions for Use could result in electric shock, serious injury, burns, fire or damage to the appliance Danger! Failure to observe the warning may result in life threatenin...
11 Please note: To enable this function, the time must already be set correctly, see paragraph “Set time ”. To enable auto-start, proceed as follows:1. Press (B2) to enter the menu;2. Press (B10) or (B8) until the display (B) shows AUTO-START; 3. Select the function by pressing : The time setting pa...
Smeg Coffee Machines Manuals
-
 Smeg BCC01BLMAU
User Manual
Smeg BCC01BLMAU
User Manual
-
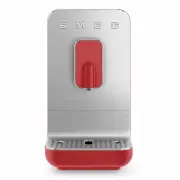 Smeg BCC01RDMAU
User Manual
Smeg BCC01RDMAU
User Manual
-
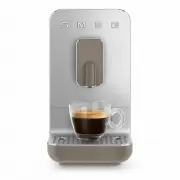 Smeg BCC01TPMAU
User Manual
Smeg BCC01TPMAU
User Manual
-
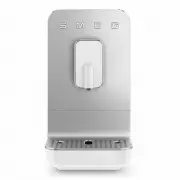 Smeg BCC01WHMAU
User Manual
Smeg BCC01WHMAU
User Manual
-
 Smeg BCC02BLMAU
User Manual
Smeg BCC02BLMAU
User Manual
-
 Smeg BCC02FBMAU
User Manual
Smeg BCC02FBMAU
User Manual
-
 Smeg BCC02RDMAU
User Manual
Smeg BCC02RDMAU
User Manual
-
 Smeg BCC02TPMAU
User Manual
Smeg BCC02TPMAU
User Manual
-
 Smeg BCC02WHMAU
User Manual
Smeg BCC02WHMAU
User Manual
-
 Smeg BCC02WHMEU
User Manual
Smeg BCC02WHMEU
User Manual
-
 Smeg BFCOFFEEPACK
User Manual
Smeg BFCOFFEEPACK
User Manual
-
 Smeg CMS8451A
Manual
Smeg CMS8451A
Manual
-
 Smeg CMS8451P
Manual
Smeg CMS8451P
Manual
-
 Smeg CMSC45NE
Manual
Smeg CMSC45NE
Manual
-
 Smeg DCF02BLAU
User Manual
Smeg DCF02BLAU
User Manual
-
 Smeg DCF02BLUS
User Manual
Smeg DCF02BLUS
User Manual
-
 Smeg DCF02CRAU
User Manual
Smeg DCF02CRAU
User Manual
-
Smeg DCF02CRUS
User Manual
-
 Smeg DCF02PBAU
User Manual
Smeg DCF02PBAU
User Manual
-
Smeg DCF02PBUS
User Manual