Simfer H30D12B015 - Manuals
Simfer H30D12B015 Hob – User Manual in PDF format online.
Manuals:
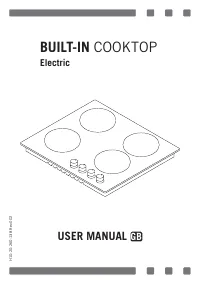
User Manual Simfer H30D12B015

Summary
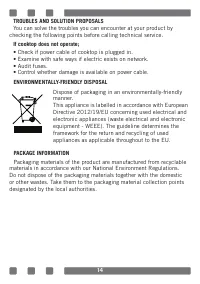
2 Dear User, Our objective is to make this product provide you with the best output which is manufactured in our modern facilities in a careful working environment, in compliance with total quality concept. Therefore, we suggest you to read the user manual carefully before using the product and, kee...
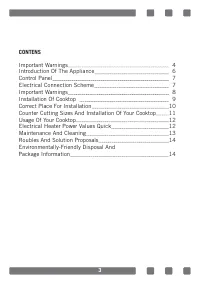
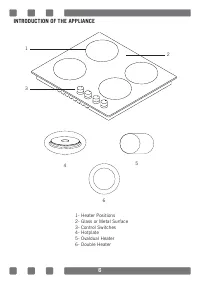
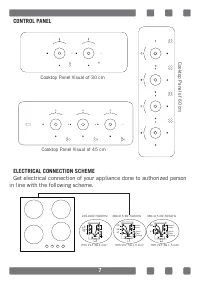
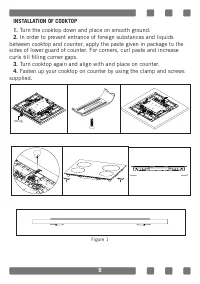
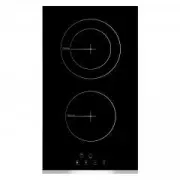
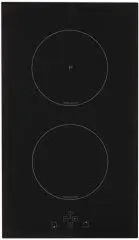
3 CONTENS Important Warnings 4 Introduction Of The Appliance 6 Control Panel 7 Electrical Connection Scheme 7 Important Warnings 8 Installation Of Cooktop 9 Correct Place For Installation 10 Counter Cutting Sizes And Installation Of Your Cooktop 11 Usage Of Your Cooktop 12 Electrical Heater Power Va...
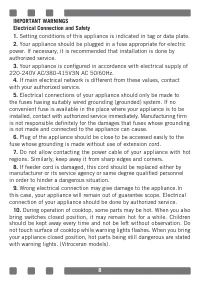
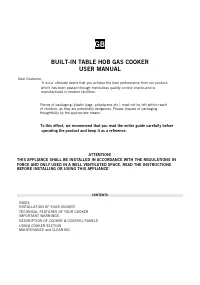
5 11. NEVER try to extinguish a fire with water, first disconnect the mains supply and then using, for example a lid or blanket, cover the fire. 12. Unless continuous supervision is provided, the children of age 8 or below should be kept away. 13. Pay attention for not to touch the heating elements....
Simfer Hobs Manuals
-
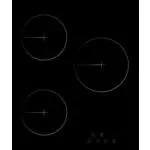
 Simfer H30D12B001
User Manual
Simfer H30D12B001
User Manual
-
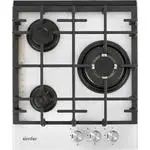
 Simfer H30D12B011
User Manual
Simfer H30D12B011
User Manual
-
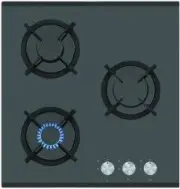
 Simfer H30D12B020
User Manual
Simfer H30D12B020
User Manual
-
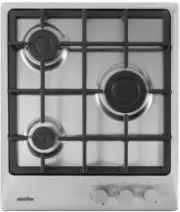
 Simfer H30D12V020
User Manual
Simfer H30D12V020
User Manual
-
 Simfer H30I12B011
User Manual
Simfer H30I12B011
User Manual
-
 Simfer H30N20B411
User Manual
Simfer H30N20B411
User Manual
-
 Simfer H30N20B516
User Manual
Simfer H30N20B516
User Manual
-
 Simfer H30V20M411
User Manual
Simfer H30V20M411
User Manual
-
Simfer H30V20M416
User Manual
-
Simfer H30V20M516
User Manual
-
Simfer H30V20O516
User Manual
-
 Simfer H45D13B020
User Manual
Simfer H45D13B020
User Manual
-
 Simfer H45D13B055
User Manual
Simfer H45D13B055
User Manual
-
 Simfer H45D13V011
User Manual
Simfer H45D13V011
User Manual
-
 Simfer H45E03B016
User Manual
Simfer H45E03B016
User Manual
-
 Simfer H45L35W516
User Manual
Simfer H45L35W516
User Manual
-
 Simfer H45N30B501
User Manual
Simfer H45N30B501
User Manual
-
 Simfer H45V30M411
User Manual
Simfer H45V30M411
User Manual
-
 Simfer H45V30M412
User Manual
Simfer H45V30M412
User Manual
-
 Simfer H45V30W411
User Manual
Simfer H45V30W411
User Manual