Samsung NZ64K5747BK - Manuals
Samsung NZ64K5747BK Hob – User Manual in PDF format online.
Manuals:
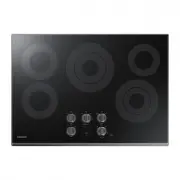
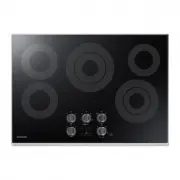
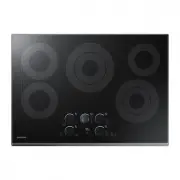
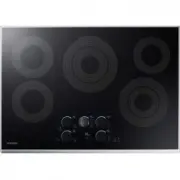
User Manual Samsung NZ64K5747BK


Summary
2 English C ontents Contents Contents Using this manual 3 The following symbols are used in this User Manual: 3 Model name & serial number 3 Safety instructions 3 Disposing of the packaging material 6 Proper disposal of your old appliance 6 Correct Disposal of This Product (Waste Electrical &...
English 3 Using this manual Using this manual Please take the time to read this owner’s manual, paying particular attention to the safety information contained in the following section, before using your appliance. Keep this manual for future reference. If transferring ownership of the appliance, pl...
4 English Safety ins truc tions Safety instructions This appliance can be used by children aged from 8 years and above and persons with reduced physical, sensory or mental capabilities or lack of experience and knowledge if they have been given supervision or instruction concerning use of the applia...
Samsung Hobs Manuals
-
 Samsung NA30N6555TG
User Manual
Samsung NA30N6555TG
User Manual
-
 Samsung NA30N6555TS
User Manual
Samsung NA30N6555TS
User Manual
-
 Samsung NA30N7755TG
User Manual
Samsung NA30N7755TG
User Manual
-
 Samsung NA30N7755TS
User Manual
Samsung NA30N7755TS
User Manual
-
 Samsung NA30R5310FS
User Manual
Samsung NA30R5310FS
User Manual
-
 Samsung NA36N6555TS
User Manual
Samsung NA36N6555TS
User Manual
-
 Samsung NA36N7755TG
User Manual
Samsung NA36N7755TG
User Manual
-
 Samsung NA36N7755TS
User Manual
Samsung NA36N7755TS
User Manual
-
 Samsung NA36R5310FS
User Manual
Samsung NA36R5310FS
User Manual
-
 Samsung NZ30A3060UK
User Manual
Samsung NZ30A3060UK
User Manual
-
 Samsung NZ30A3060UK/AA
User Manual
Samsung NZ30A3060UK/AA
User Manual
-
 Samsung NZ30K6330RG
User Manual
Samsung NZ30K6330RG
User Manual
-
 Samsung NZ30K6330RS
User Manual
Samsung NZ30K6330RS
User Manual
-
 Samsung NZ30K7570RG
User Manual
Samsung NZ30K7570RG
User Manual
-
 Samsung NZ30K7570RS
User Manual
Samsung NZ30K7570RS
User Manual
-
 Samsung NZ30K7880UG
User Manual
Samsung NZ30K7880UG
User Manual
-
 Samsung NZ30K7880US
User Manual
Samsung NZ30K7880US
User Manual
-
 Samsung NZ30R5330RK
User Manual
Samsung NZ30R5330RK
User Manual
-
 Samsung NZ36C3060UK
User Manual
Samsung NZ36C3060UK
User Manual
-
 Samsung NZ36K6430RS
User Manual
Samsung NZ36K6430RS
User Manual