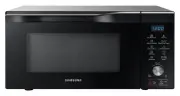
Samsung MJ26A6093AT/EU - Manuals
Samsung MJ26A6093AT/EU Microwave – User Manual in PDF format online.
Manuals:
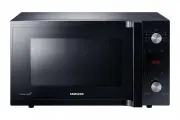
User Manual Samsung MJ26A6093AT/EU


Summary
2 ENGLISH CONTENTS USING THIS INSTRUCTION BOOKLET You have just purchased a Samsung microwave oven. Your Owner’s Instructions contain valuable information on cooking with your microwave oven: • Safety precautions • Suitable accessories and cookware • Useful cooking tips• Cooking tips IMPORTANT SAFET...
3 ENGLISH Warning; Fire hazard Warning; Hot surface Warning; Electricity Warning; Explosive material Do NOT attempt. Follow directions explicitly. Do NOT disassemble. Unplug the power plug from the wall socket. Do NOT touch. Make sure the machine is grounded to prevent electric shock. Call the servi...
5 ENGLISH If the supply cord is damaged, it must be replaced by the manufacturer, its service agent or similarly qualified persons in order to avoid a hazard. The temperature of accessible surfaces may be high when the appliance is operatingThe door or the outer surface may get hot when the applianc...
Samsung Microwaves Manuals
-
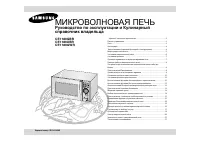 Samsung CE1180GBR (UBR) (GWR)
User Manual
Samsung CE1180GBR (UBR) (GWR)
User Manual
-
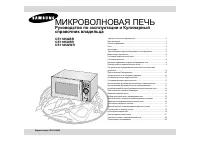 Samsung CE1185GBR (UBR) (GWR)
User Manual
Samsung CE1185GBR (UBR) (GWR)
User Manual
-
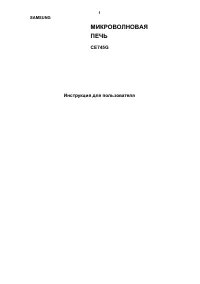 Samsung CE745G
User Manual
Samsung CE745G
User Manual
-
 Samsung MC12J8035CT/AA
User Manual
Samsung MC12J8035CT/AA
User Manual
-
 Samsung MC17T8000CG/AA
User Manual
Samsung MC17T8000CG/AA
User Manual
-
Samsung MC17T8000CS/AA
User Manual
-
 Samsung MC32K7058CT
User Manual
Samsung MC32K7058CT
User Manual
-
 Samsung MC455THRCBB
User Manual
Samsung MC455THRCBB
User Manual
-
 Samsung ME11A7510DG/AA
User Manual
Samsung ME11A7510DG/AA
User Manual
-
Samsung ME11A7510DS/AA
User Manual
-
 Samsung ME11A7710DG/AA
User Manual
Samsung ME11A7710DG/AA
User Manual
-
Samsung ME11A7710DS/AA
User Manual
-
 Samsung ME11CB751012
User Manual
Samsung ME11CB751012
User Manual
-
 Samsung ME16A4021AS/AA
User Manual
Samsung ME16A4021AS/AA
User Manual
-
 Samsung ME17R7021EG/AA
User Manual
Samsung ME17R7021EG/AA
User Manual
-
Samsung ME17R7021ES/AA
User Manual
-
 Samsung ME19CB704112
User Manual
Samsung ME19CB704112
User Manual
-
 Samsung ME19R7041FG/AA
User Manual
Samsung ME19R7041FG/AA
User Manual
-
Samsung ME19R7041FS/AA
User Manual
-
 Samsung ME21A706BQN/AA
User Manual
Samsung ME21A706BQN/AA
User Manual