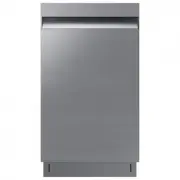
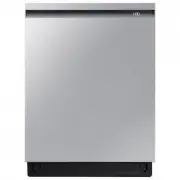
Samsung DW80CG5451MTAA - Manuals
Samsung DW80CG5451MTAA Dishwasher – User Manual in PDF format online.
Manuals:
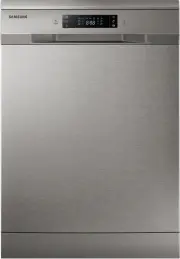
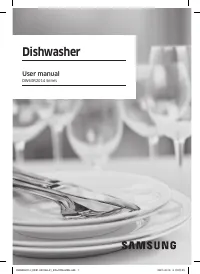
User Manual Samsung DW80CG5451MTAA


Summary
English 2 C ontents Contents Safety information 4 What you need to know about the safety instructions 4 Important safety symbols 4 Before using your dishwasher 7 Regulatory notice 8 Before you start 10 Unpacking your dishwasher 10 Checking parts 11 Unsuitable items for the dishwasher 13 Using your d...
English 3 C ontents Troubleshooting 47 Check these solutions if your dishwasher… 47 Information codes 52 Cycle chart 54 Appendix 58 Helping the environment 58 Specifications 58 Open Source Announcement 59 Warranty (U.S.A) 60 DW5000C_DW80CB507012AA_DD68-00261A-00_EN_FULL.indd 3 2023-03-24 12:21:02
English 4 SAVE THESE INSTRUCTIONS Safety inf ormation Safety information Congratulations on your new Samsung dishwasher. This manual contains important information on the installation, use, and care of your appliance. Please take time to read this manual to take full advantage of your dishwasher’s m...
Samsung Dishwashers Manuals
-
 Samsung DW50T6060US
User Manual
Samsung DW50T6060US
User Manual
-
 Samsung DW50T6060US/AA
User Manual
Samsung DW50T6060US/AA
User Manual
-
 Samsung DW5343TGBSL
User Manual
Samsung DW5343TGBSL
User Manual
-
 Samsung DW5343TGBWQ
User Manual
Samsung DW5343TGBWQ
User Manual
-
 Samsung DW60H6050FS
User Manual
Samsung DW60H6050FS
User Manual
-
 Samsung DW60H6050FW
User Manual
Samsung DW60H6050FW
User Manual
-
 Samsung DW60R2014US
User Manual
Samsung DW60R2014US
User Manual
-
 Samsung DW60R2014US/AA
User Manual
Samsung DW60R2014US/AA
User Manual
-
 Samsung DW80B6060UG
User Manual
Samsung DW80B6060UG
User Manual
-
 Samsung DW80B6060US
User Manual
Samsung DW80B6060US
User Manual
-
 Samsung DW80B7070AP
User Manual
Samsung DW80B7070AP
User Manual
-
 Samsung DW80B7070AP/AA
User Manual
Samsung DW80B7070AP/AA
User Manual
-
 Samsung DW80B7070UG
User Manual
Samsung DW80B7070UG
User Manual
-
Samsung DW80B7070UG/AA
User Manual
-
 Samsung DW80B7070US
User Manual
Samsung DW80B7070US
User Manual
-
Samsung DW80B7070US/AA
User Manual
-
 Samsung DW80B7071UG
User Manual
Samsung DW80B7071UG
User Manual
-
Samsung DW80B7071UG/AA
User Manual
-
 Samsung DW80B7071US
User Manual
Samsung DW80B7071US
User Manual
-
Samsung DW80B7071US/AA
User Manual