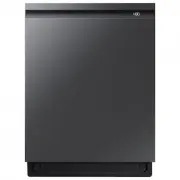
Samsung DW60J9970BB/EU - Manuals
Samsung DW60J9970BB/EU Dishwasher – User Manual, Installation Manual in PDF format online.
Manuals:
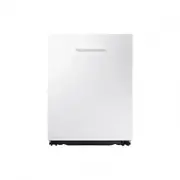
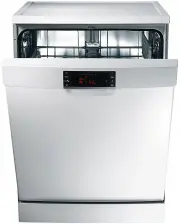
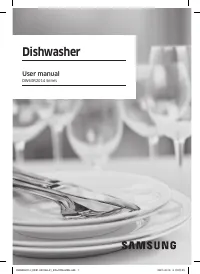
User Manual Samsung DW60J9970BB/EU


Summary
English - 2 SAFETY INSTRUCTIONS 3 SETTING UP YOUR DISHWASHER 10 10 Checking the parts and control panel 15 Cycle selector 16 Meeting the installation requirements BEFORE USING THE PRODUCT FOR THE FIRST TIME 18 18 Setting mode 20 Using dishwasher salt LOADING YOUR DISHWASHER 21 21 Dishwashing guideli...
English - 3 01 SAFETY INS TRUC TIONS Safety instructions Congratulations on your new Samsung dishwasher. This manual contains important information on the installation, use and care of your appliance. Please take time to read this manual to take full advantage of your dishwasher’s many benefi ts and ...
English - 4 Important safety precautions This appliance conforms to current safety requirements. Inappropriate use can, however, lead to personal injury and damage to property. To avoid the risk of accidents and damage to the appliance, please read these instructions carefully before using it for th...
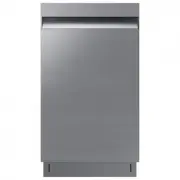
Installation Manual Samsung DW60J9970BB/EU


Summary
2_ Safety instructions Safety instructions Congratulations on your new Samsung dishwasher. This manual contains important information on the installation, use and care of your appliance. Please take time to read this manual to take full advantage of your dishwasher’s many benefi ts and features. WHAT...
Safety instructions _3 Important safety precautions This appliance conforms to current safety requirements. Inappropriate use can, however, lead to personal injury and damage to property. To avoid the risk of accidents and damage to the appliance, please read these instructions carefully before usin...
4_ Safety instructions INSTRUCTIONS WHEN USING YOUR DISHWASHER This dishwasher is not designed for commercial use. It is intended for use in domestic households and in similar working and residential environments such as: • Shops • Offi ces and showrooms and by residents in establishments such as: •...
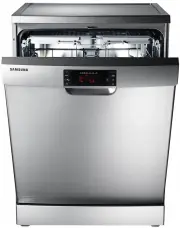
Samsung Dishwashers Manuals
-
 Samsung DW50T6060US
User Manual
Samsung DW50T6060US
User Manual
-
 Samsung DW50T6060US/AA
User Manual
Samsung DW50T6060US/AA
User Manual
-
 Samsung DW5343TGBSL
User Manual
Samsung DW5343TGBSL
User Manual
-
 Samsung DW5343TGBWQ
User Manual
Samsung DW5343TGBWQ
User Manual
-
 Samsung DW60H6050FS
User Manual
Samsung DW60H6050FS
User Manual
-
 Samsung DW60H6050FW
User Manual
Samsung DW60H6050FW
User Manual
-
 Samsung DW60R2014US
User Manual
Samsung DW60R2014US
User Manual
-
 Samsung DW60R2014US/AA
User Manual
Samsung DW60R2014US/AA
User Manual
-
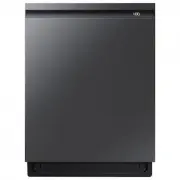 Samsung DW80B6060UG
User Manual
Samsung DW80B6060UG
User Manual
-
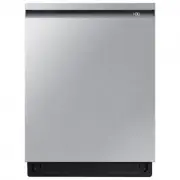 Samsung DW80B6060US
User Manual
Samsung DW80B6060US
User Manual
-
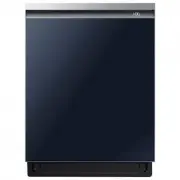 Samsung DW80B7070AP
User Manual
Samsung DW80B7070AP
User Manual
-
 Samsung DW80B7070AP/AA
User Manual
Samsung DW80B7070AP/AA
User Manual
-
 Samsung DW80B7070UG
User Manual
Samsung DW80B7070UG
User Manual
-
Samsung DW80B7070UG/AA
User Manual
-
 Samsung DW80B7070US
User Manual
Samsung DW80B7070US
User Manual
-
Samsung DW80B7070US/AA
User Manual
-
 Samsung DW80B7071UG
User Manual
Samsung DW80B7071UG
User Manual
-
Samsung DW80B7071UG/AA
User Manual
-
 Samsung DW80B7071US
User Manual
Samsung DW80B7071US
User Manual
-
Samsung DW80B7071US/AA
User Manual