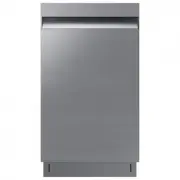
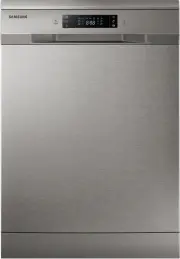
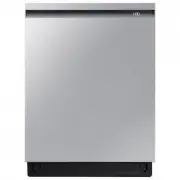
Samsung DW60BG750B00ET - Manuals
Samsung DW60BG750B00ET Dishwasher – Installation Manual, User Manual, Repair Manual in PDF format online.
Manuals:
Installation Manual Samsung DW60BG750B00ET

User Manual Samsung DW60BG750B00ET


Summary
English 2 C ontents Contents Safety information 4 What you need to know about safety instructions 4 Important safety symbols 4 Instructions about the WEEE 5 Important safety precautions 6 Instructions when using your dishwasher 8 Instructions for protecting your children 9 Instructions for installin...
English 3 C ontents C ontents Troubleshooting 78 Checkpoints 78Information codes 81 Cycle chart 82 Appendix 84 Transportation/relocation 84Protection against frost 84 Disposing the dishwasher and helping the environment 84 Energy, water saving tip 85 EPREL information 85 Specifications 86 For standa...
English 4 Safety inf ormation Safety information Congratulations on your new Samsung dishwasher. This manual contains important information on the installation, use and care of your appliance. Please take time to read this manual to take full advantage of your dishwasher’s many benefits and features...
Repair Manual Samsung DW60BG750B00ET


Summary
SAMS UNG PR OPRIET AR Y. DO NO T C OPY OR DIS TRIBUTE WITHOUT PERMIS SION SAMS UNG PR OPRIET AR Y. DO NO T C OPY OR DIS TRIBUTE WITHOUT PERMIS SION This Document can not be used without Samsung’s authorization. IMPORTANT SAFETY NOTICE Following the repair by a non-authorized service provider self-re...
4 _ Disassembly and Reassembly SAMS UNG PR OPRIET AR Y. DO NO T C OPY OR DIS TRIBUTE WITHOUT PERMIS SION SAMS UNG PR OPRIET AR Y. DO NO T C OPY OR DIS TRIBUTE WITHOUT PERMIS SION This Document can not be used without Samsung’s authorization. Part Figure Description ASSY COVER TOP [DISASSEMBLY] 1. Re...
Disassembly and Reassembly _ 5 SAMS UNG PR OPRIET AR Y. DO NO T C OPY OR DIS TRIBUTE WITHOUT PERMIS SION SAMS UNG PR OPRIET AR Y. DO NO T C OPY OR DIS TRIBUTE WITHOUT PERMIS SION This Document can not be used without Samsung’s authorization. Part Figure Description SEAL TUB PACKING [DISASSEMBLY] BRA...
Samsung Dishwashers Manuals
-
 Samsung DW50T6060US
User Manual
Samsung DW50T6060US
User Manual
-
 Samsung DW50T6060US/AA
User Manual
Samsung DW50T6060US/AA
User Manual
-
 Samsung DW5343TGBSL
User Manual
Samsung DW5343TGBSL
User Manual
-
 Samsung DW5343TGBWQ
User Manual
Samsung DW5343TGBWQ
User Manual
-
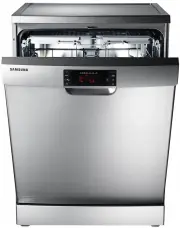
 Samsung DW60H6050FS
User Manual
Samsung DW60H6050FS
User Manual
-
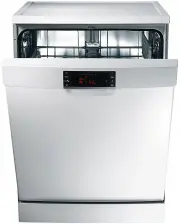
 Samsung DW60H6050FW
User Manual
Samsung DW60H6050FW
User Manual
-
 Samsung DW60R2014US
User Manual
Samsung DW60R2014US
User Manual
-
 Samsung DW60R2014US/AA
User Manual
Samsung DW60R2014US/AA
User Manual
-
 Samsung DW80B6060UG
User Manual
Samsung DW80B6060UG
User Manual
-
 Samsung DW80B6060US
User Manual
Samsung DW80B6060US
User Manual
-
 Samsung DW80B7070AP
User Manual
Samsung DW80B7070AP
User Manual
-
 Samsung DW80B7070AP/AA
User Manual
Samsung DW80B7070AP/AA
User Manual
-
 Samsung DW80B7070UG
User Manual
Samsung DW80B7070UG
User Manual
-
Samsung DW80B7070UG/AA
User Manual
-
 Samsung DW80B7070US
User Manual
Samsung DW80B7070US
User Manual
-
Samsung DW80B7070US/AA
User Manual
-
 Samsung DW80B7071UG
User Manual
Samsung DW80B7071UG
User Manual
-
Samsung DW80B7071UG/AA
User Manual
-
 Samsung DW80B7071US
User Manual
Samsung DW80B7071US
User Manual
-
Samsung DW80B7071US/AA
User Manual