Prestigio GeoVision GV5300 4Gb - Manuals
User Manual Prestigio GeoVision GV5300 4Gb


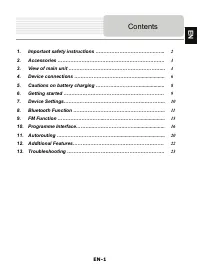
Summary
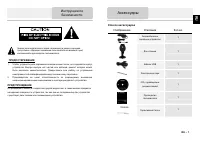
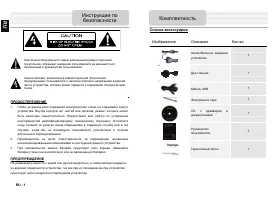
RU-2 Список аксессуаров Изображение Описание Кол - во Автомобильное зарядное устройство 1 Чехол ( для GV5700/5700BT ) 1 USB- кабель 1 Электронное перо 1 CD с драйвером и документацией 1 Руководство пользователя 1 Гарантийный талон Крепление Smart Mount Инструкция ( для крепления smart mount) Аксессу...
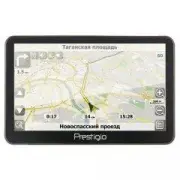
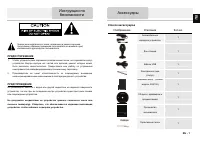
RU-3 Вид спереди и сбоку 1. Сенсорный ЖК - экран Для выбора команд в меню или ввода информации нажмите по нему пальцем или электронным пером . 2. Светочувствительный датчик 3. Разъем для наушников Используется для подключения наушников . При подключении разъема наушников звук из динамика будет выклю...
RU-5 Установка карт памяти microSD z Устанавливая microSD карту , поверните ее коннектором к устройству ( этикетка должна быть повернута к передней панели устройства ). z Чтобы извлечь microSD карту , слегка нажмите на край карты , чтобы снять защитную защелку , и вытяните карту из слота . Внимание ...
Prestigio GPS Units Manuals
-
 Prestigio GeoVision 3120
User Manual
Prestigio GeoVision 3120
User Manual
-
 Prestigio GeoVision 3200
User Manual
Prestigio GeoVision 3200
User Manual
-
 Prestigio GeoVision 360
User Manual
Prestigio GeoVision 360
User Manual
-
 Prestigio GeoVision 400
User Manual
Prestigio GeoVision 400
User Manual
-
 Prestigio GeoVision 4000
User Manual
Prestigio GeoVision 4000
User Manual
-
 Prestigio GeoVision 4050
User Manual
Prestigio GeoVision 4050
User Manual
-
 Prestigio GeoVision 4050 Navitel
User Manual
Prestigio GeoVision 4050 Navitel
User Manual
-
 Prestigio GeoVision 4120
User Manual
Prestigio GeoVision 4120
User Manual
-
 Prestigio GeoVision 4120BT
User Manual
Prestigio GeoVision 4120BT
User Manual
-
 Prestigio GeoVision 4130 Navitel
User Manual
Prestigio GeoVision 4130 Navitel
User Manual
-
 Prestigio GeoVision 4150 Navitel
User Manual
Prestigio GeoVision 4150 Navitel
User Manual
-
 Prestigio GEOVISION 4200 BT
User Manual
Prestigio GEOVISION 4200 BT
User Manual
-
 Prestigio GeoVision 4250 GPRS
User Manual
Prestigio GeoVision 4250 GPRS
User Manual
-
 Prestigio GeoVision 4250(BT) Navitel
User Manual
Prestigio GeoVision 4250(BT) Navitel
User Manual
-
 Prestigio GeoVision 4266(BT) Navitel
User Manual
Prestigio GeoVision 4266(BT) Navitel
User Manual
-
 Prestigio GeoVision 4300(BT) Navitel
User Manual
Prestigio GeoVision 4300(BT) Navitel
User Manual
-
 Prestigio GeoVision 4400
User Manual
Prestigio GeoVision 4400
User Manual
-
 Prestigio GeoVision 4466
User Manual
Prestigio GeoVision 4466
User Manual
-
 Prestigio GeoVision 450 BT
User Manual
Prestigio GeoVision 450 BT
User Manual
-
 Prestigio GeoVision 4700(BT) Navitel
User Manual
Prestigio GeoVision 4700(BT) Navitel
User Manual