Prestigio GeoVision 4400 - Manuals
Prestigio GeoVision 4400 GPS Unit – User Manual in PDF format online.
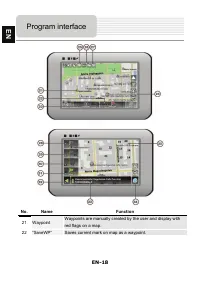
Manuals:
User Manual Prestigio GeoVision 4400


Summary
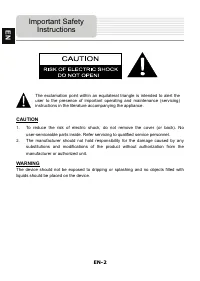
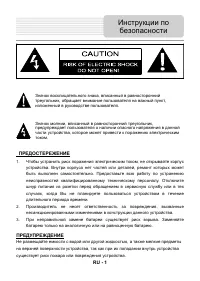
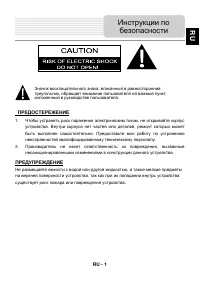
EN-2 CAUTION 1. To reduce the risk of electric shock, do not remove the cover (or back). No user-serviceable parts inside. Refer servicing to qualified service personnel. 2. The manufacturer should not hold responsibility for the damage caused by any substitutions and modifications of the product wi...
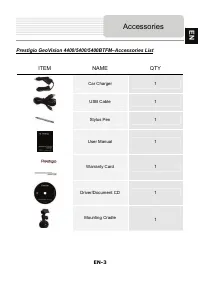
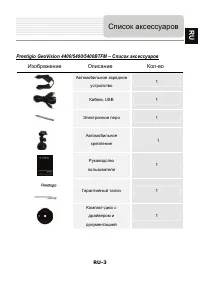
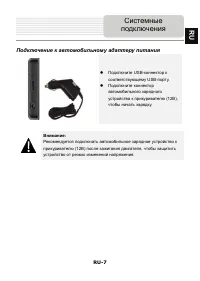
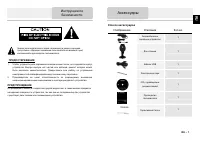
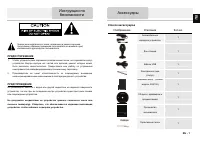
EN-3 Prestigio GeoVision 4400/5400/5400BTFM–Accessories List ITEM NAME QTY Car Charger 1 USB Cable 1 Stylus Pen 1 User Manual 1 Warranty Card 1 Driver/Document CD 1 Mounting Cradle Accessories EN 1
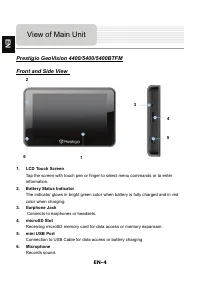
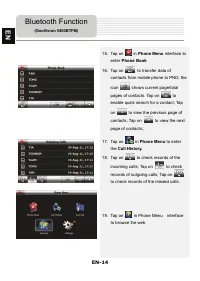
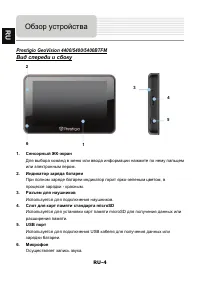
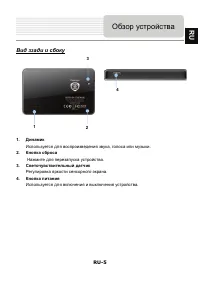
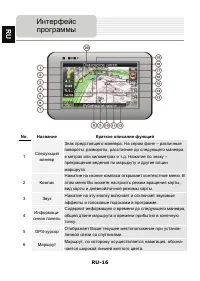
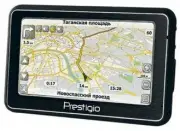
EN-4 Prestigio GeoVision 4400/5400/5400BTFM Front and Side View 1. LCD Touch Screen Tap the screen with touch pen or finger to select menu commands or to enter information. 2. Battery Status Indicator The indicator glows in bright green color when battery is fully charged and in red color when charg...
Prestigio GPS Units Manuals
-
 Prestigio GeoVision 3120
User Manual
Prestigio GeoVision 3120
User Manual
-
 Prestigio GeoVision 3200
User Manual
Prestigio GeoVision 3200
User Manual
-
 Prestigio GeoVision 360
User Manual
Prestigio GeoVision 360
User Manual
-
 Prestigio GeoVision 400
User Manual
Prestigio GeoVision 400
User Manual
-
 Prestigio GeoVision 4000
User Manual
Prestigio GeoVision 4000
User Manual
-
 Prestigio GeoVision 4050
User Manual
Prestigio GeoVision 4050
User Manual
-
 Prestigio GeoVision 4050 Navitel
User Manual
Prestigio GeoVision 4050 Navitel
User Manual
-
 Prestigio GeoVision 4120
User Manual
Prestigio GeoVision 4120
User Manual
-
 Prestigio GeoVision 4120BT
User Manual
Prestigio GeoVision 4120BT
User Manual
-
 Prestigio GeoVision 4130 Navitel
User Manual
Prestigio GeoVision 4130 Navitel
User Manual
-
 Prestigio GeoVision 4150 Navitel
User Manual
Prestigio GeoVision 4150 Navitel
User Manual
-
 Prestigio GEOVISION 4200 BT
User Manual
Prestigio GEOVISION 4200 BT
User Manual
-
 Prestigio GeoVision 4250 GPRS
User Manual
Prestigio GeoVision 4250 GPRS
User Manual
-
 Prestigio GeoVision 4250(BT) Navitel
User Manual
Prestigio GeoVision 4250(BT) Navitel
User Manual
-
 Prestigio GeoVision 4266(BT) Navitel
User Manual
Prestigio GeoVision 4266(BT) Navitel
User Manual
-
 Prestigio GeoVision 4300(BT) Navitel
User Manual
Prestigio GeoVision 4300(BT) Navitel
User Manual
-
 Prestigio GeoVision 4466
User Manual
Prestigio GeoVision 4466
User Manual
-
 Prestigio GeoVision 450 BT
User Manual
Prestigio GeoVision 450 BT
User Manual
-
 Prestigio GeoVision 4700(BT) Navitel
User Manual
Prestigio GeoVision 4700(BT) Navitel
User Manual
-
 Prestigio GeoVision 4766(BT) Navitel
User Manual
Prestigio GeoVision 4766(BT) Navitel
User Manual