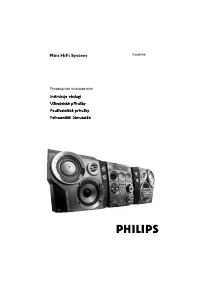
Philips NTRX500 - Manuals
Philips NTRX500 Sound System – Manual in PDF format online.
Manuals:
Manual Philips NTRX500


Summary
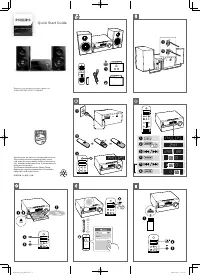
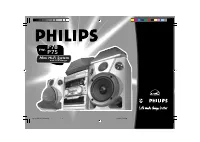
1 EN Contents 1 Important 2 Safety 2 2 Notice 4 3 Your Mini Hi-Fi System 6 Introduction 6 What's in the box 6 Over view of the main unit 7 Over view of the remote control 8 4 Connect 10 Connect FM antenna 10 Connect AM antenna 10 Connect power 10 5 Get started 12 Prepare the remote control 12 Turn o...
2 EN 1 Important Safety Know these safety symbols This 'bolt of lightning' indicates uninsulated material within your unit may cause an electrical shock. For the safety of ever yone in your household, please do not remove product covering. The 'exclamation point' calls attention to features for whic...
4 EN 2 Notice Any changes or modifications made to this device that are not expressly approved by WOOX Innovations may void the user’s authority to operate the equipment. Notice for the USA and Canada This device complies with Par t 15 of the FCC Rules and RSS standard of Industr y Canada. Operation...
Philips Sound Systems Manuals
-
 Philips BTB2570
User Manual
Philips BTB2570
User Manual
-
 Philips BTM177
Manual
Philips BTM177
Manual
-
 Philips BTM2310/12
User Manual
Philips BTM2310/12
User Manual
-
Philips BTM2310/12
Quick Guide
-
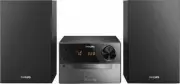
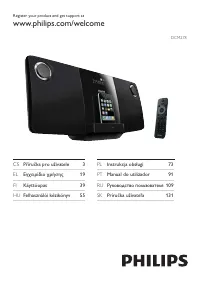
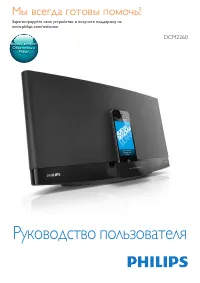 Philips DCM2260
Manual
Philips DCM2260
Manual
-
 Philips DCM278
Manual
Philips DCM278
Manual
-
 Philips DCM3020
Manual
Philips DCM3020
Manual
-
 Philips FW-C380
Manual
Philips FW-C380
Manual
-
 Philips FW-C700
Manual
Philips FW-C700
Manual
-
 Philips FW-C780
Manual
Philips FW-C780
Manual
-
 Philips FWM390
Manual
Philips FWM390
Manual
-
 Philips FWM582
Manual
Philips FWM582
Manual
-
 Philips FWM779
Manual
Philips FWM779
Manual
-
 Philips FWM799
Manual
Philips FWM799
Manual
-
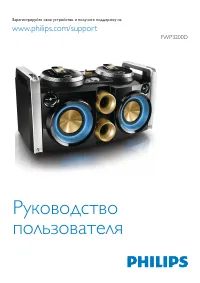 Philips FWP3200D
Manual
Philips FWP3200D
Manual
-
 Philips FW-P78
Manual
Philips FW-P78
Manual
-
 Philips FX10/12
User Manual
Philips FX10/12
User Manual
-
 Philips MC145
Manual
Philips MC145
Manual
-
 Philips MC147
Manual
Philips MC147
Manual
-
 Philips MC150
Manual
Philips MC150
Manual