Philips MCM166 - Manuals
Philips MCM166 Sound System – Manual in PDF format online.
Manuals:
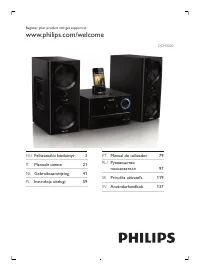
Manual Philips MCM166


Summary
Canada English: This digital apparatus does not exceed the Class B limits for r adio noise emissions from digital appar atus as set out in the Radio Interference R e g u l a t i o n s o f t h e C a n a d i a n D e p a r t m e n t o f Communications.This Class B digital appar atus complies with Canad...
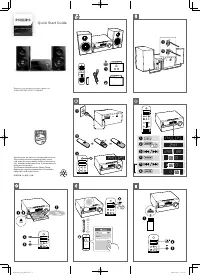
3 English EN Contents 1 Important 4 Safety 4Notice 5 2 Your Micro Hi-Fi 6 Introduction 6What’s in the box 6 Over view of the main unit 7 Over view of the remote control 8 3 Connect 10 Connect speakers 10 Connect power 10 4 Get started 11 Prepare the remote control 11 Auto install radio stations 11 S...
4 manufacturer or sold with the apparatus. When a cart is used, use caution when moving the cart/apparatus combination to avoid injury from tip-over. m Unplug this apparatus during lightning storms or when unused for long periods of time. n Refer all servicing to qualifi ed service personnel. Servici...
Philips Sound Systems Manuals
-
 Philips BTB2570
User Manual
Philips BTB2570
User Manual
-
 Philips BTM177
Manual
Philips BTM177
Manual
-
 Philips BTM2310/12
User Manual
Philips BTM2310/12
User Manual
-
Philips BTM2310/12
Quick Guide
-
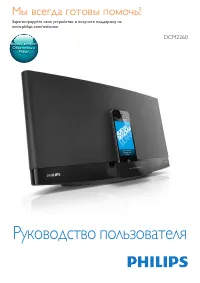 Philips DCM2260
Manual
Philips DCM2260
Manual
-
 Philips DCM278
Manual
Philips DCM278
Manual
-
 Philips DCM3020
Manual
Philips DCM3020
Manual
-
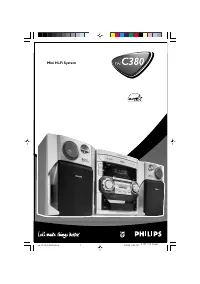 Philips FW-C380
Manual
Philips FW-C380
Manual
-
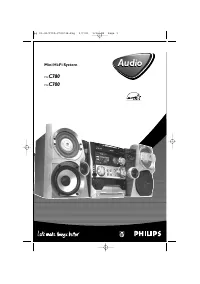 Philips FW-C700
Manual
Philips FW-C700
Manual
-
 Philips FW-C780
Manual
Philips FW-C780
Manual
-
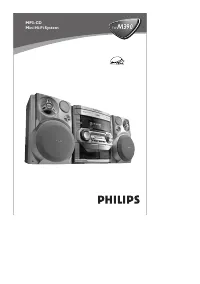 Philips FWM390
Manual
Philips FWM390
Manual
-
 Philips FWM582
Manual
Philips FWM582
Manual
-
 Philips FWM779
Manual
Philips FWM779
Manual
-
 Philips FWM799
Manual
Philips FWM799
Manual
-
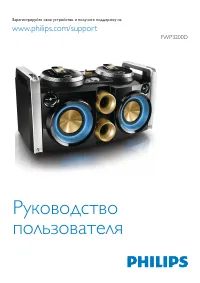 Philips FWP3200D
Manual
Philips FWP3200D
Manual
-
 Philips FW-P78
Manual
Philips FW-P78
Manual
-
 Philips FX10/12
User Manual
Philips FX10/12
User Manual
-
 Philips MC145
Manual
Philips MC145
Manual
-
 Philips MC147
Manual
Philips MC147
Manual
-
 Philips MC150
Manual
Philips MC150
Manual