Philips MCD2160 - Manuals
Manual Philips MCD2160


Summary
2 EN Contents 1 Important 3 Safety 3 2 Your micro system 5 Introduction 5 What's in the box 5 Over view of the main unit 6 Over view of the remote control 7 3 Connect 8 Place the unit 8 Connect speakers 8 Connect video cables 8 Connect an external audio device 9 Connect power 9 4 Get started 10 Prep...
3 EN 1 Important Safety This 'bolt of lightning' indicates uninsulated material within the device may cause an electrical shock. For the safety of ever yone in your household, please do not remove the covering. The 'exclamation mark' calls attention to features for which you should read the enclosed...
5 EN 2 Your micro system Congratulations on your purchase, and welcome to Philips! To fully benefit from the suppor t that Philips offers, register your product at www.philips.com/welcome. Introduction With this unit, you can: • Watch video from DVD/VCD/SVCD, or USB storage devices; • enjoy audio fr...
Philips Sound Systems Manuals
-
 Philips AZD208
Manual
Philips AZD208
Manual
-
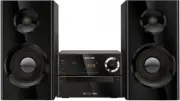
 Philips BTB2570
User Manual
Philips BTB2570
User Manual
-
 Philips BTM177
User Manual
Philips BTM177
User Manual
-
Philips BTM177
Manual
-
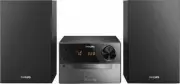 Philips BTM2310/12
User Manual
Philips BTM2310/12
User Manual
-
Philips BTM2310/12
Quick Guide
-
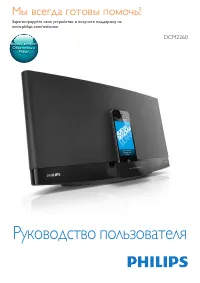 Philips DCM2260
Manual
Philips DCM2260
Manual
-
 Philips DCM278
Manual
Philips DCM278
Manual
-
 Philips DCM3020
Manual
Philips DCM3020
Manual
-
 Philips FW-C10
User Manual
Philips FW-C10
User Manual
-
 Philips FW-C100
User Manual
Philips FW-C100
User Manual
-
Philips FW-C100
Manual
-
 Philips FWC143
User Manual
Philips FWC143
User Manual
-
Philips FWC143
Manual
-
 Philips FW-C220
User Manual
Philips FW-C220
User Manual
-
 Philips FW-C280
User Manual
Philips FW-C280
User Manual
-
 Philips FW-C355
Manual
Philips FW-C355
Manual
-
 Philips FW-C380
User Manual
Philips FW-C380
User Manual
-
Philips FW-C380
Manual
-
 Philips FW-C390
Manual
Philips FW-C390
Manual